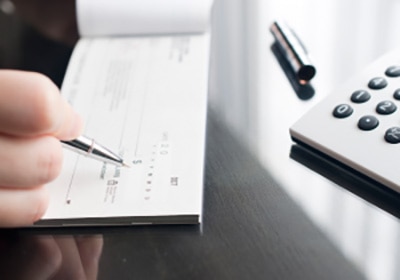
You can generate cheques directly from your QuickBooks software. This allows you to create cheques for suppliers, employees and others based on information from your accounting records. However, you need the right supplies to get started.

Use QuickBooks to Write Cheques
Ordering Cheques
QuickBooks can generate cheques, but it needs to print the information onto a cheque blank. Order blank QuickBooks cheques in your choice of styles.
- Standard cheques come three to a page. That allows you to create a batch of cheques, feed the printer and conveniently create all the cheques you need.
- If you prefer to have a paper stub for extra details, you may want voucher cheques. This style features the cheque on the top third of the page, and it leaves the rest of the sheet free for payroll or invoice details.
- Wallet cheques can satisfy your desire for cheques with the smaller size of a personal cheque.
Printing Cheques From QuickBooks
Once you have your cheque blanks, start by selecting the menu button at the top of the home screen. Under the Supplier heading, you should see Print Cheques; when you click on that option, your software takes you to a list of pending cheques.
Select print setup, located at the bottom of the window near the centre. This opens a new window. There, you must select the type of cheque, such as voucher or standard. Then, use the preview button to see how the cheque will look. If you like, you can take a practice run with a sheet of blank paper, but in this case, make sure to hit Print Sample in the software. When you are ready to print the real cheque, add the cheque blanks to your printer, and hit Print.
Fixing Alignment Issues
You should always create a sample the first time you print a cheque or if you are using a new printer. Then, you should place the sample against one of your cheque blanks, and hold the pair up to the light. If dollar amounts, payee and other details appear in the correct spots on the cheque blank, your cheque is aligned correctly. If not, you need to revisit the software and adjust the alignment.
After you print the sample, a question appears near the bottom of the screen asking about the alignment. Click on No, Continue Set Up if the fields are not aligned. Then, follow the prompts to set up Adobe Reader, which allows your QuickBooks software to set up the cheque as an Adobe PDF file. If necessary, drag and drop numbers inside a grid to fine tune the adjustment.
Boosting Supplies
You may also want to buy some additional supplies beyond cheque blanks. QuickBooks also offers deposit slips that you can print using your accounting software or fill out by hand. For mailing cheques to employees, consultants, suppliers or others, you can also order security envelopes.
References & Resources
- community.intuit.com
- quickbooks.intuit.com


