We appreciate the trust you’ve placed in us and the opportunity to serve your business needs, Kevin. We want to ensure you have all the necessary information for this process.
make sure to export your data such as reports, lists, and other data to enable restoration in case you need to access it again in the future.
Let me guide you through the cancellation steps to help you manage your QuickBooks Online subscriptions. Here’s how:
- Open a web browser on your computer and sign in to QuickBooks Online as an admin user.
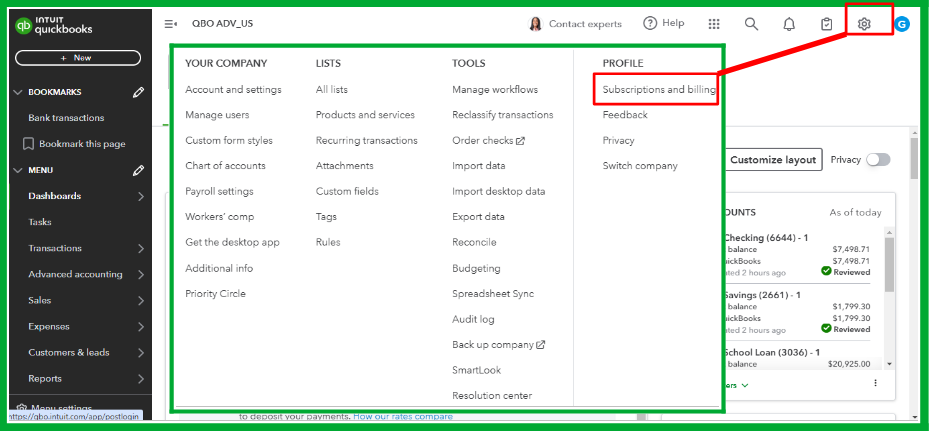
- Go to the Gear or Settings icon in the upper-right-hand corner, then choose Subscriptions and billing.
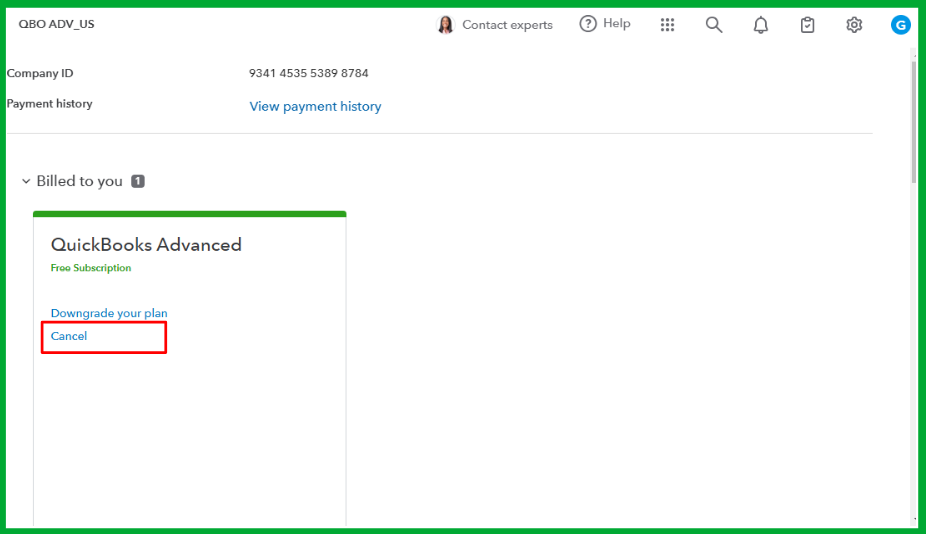
- Look for QuickBooks Online and click Cancel subscription or Cancel online. If you're discontinuing a trial, choose Cancel Trial.
- Follow the on-screen steps to cancel your account.
After canceling your subscription, please be aware that the system will keep your data as a read-only file for one year before permanently deleting it. This allows you to easily reactivate your account if you decide to return. You can access this file in the Cancelled Companies section when you log in to the Company Selection page.
For detailed information about this process, you can refer to this article: What happens to my QuickBooks Online data after I cancel?
Moreover, for comprehensive insights into managing your QBO accounts, I recommend visiting this article: Manage billing, payment, and subscription info in QuickBooks Online.
Let us know if you have other concerns as you proceed with the cancellation process. The Community is available to lend a helping hand.


