When you first connect your bank or credit card in QuickBooks Online, it downloads up to 90 days of transactions, depending on your bank. Afterward, it updates with new transactions automatically, @cortez1941.
To add older transactions in QuickBooks, export them from your bank and then import them into QuickBooks on your computer. Let's start by checking the date range in QuickBooks first to avoid duplicates before exporting transactions from your bank.
Here's how:
- Go to Accounting and choose Bank transactions.
- Select the account you plan to upload transactions into.
- From the Date drop-down menu, click All dates.
- Choose the Date column header to sort the list by date.
- Take note of the oldest transaction date in the account.
Next, we need to export the transactions from your bank by following the steps:
- Sign in to your bank's website.
- Follow your bank's steps to download your transactions as a CSV file.
- Set the date range for at least one day before the oldest transaction in the account in QuickBooks.
- Please follow any on-screen instructions to finish the download.
Finally, import the transactions by following these steps:
- Go to the Gear icon.
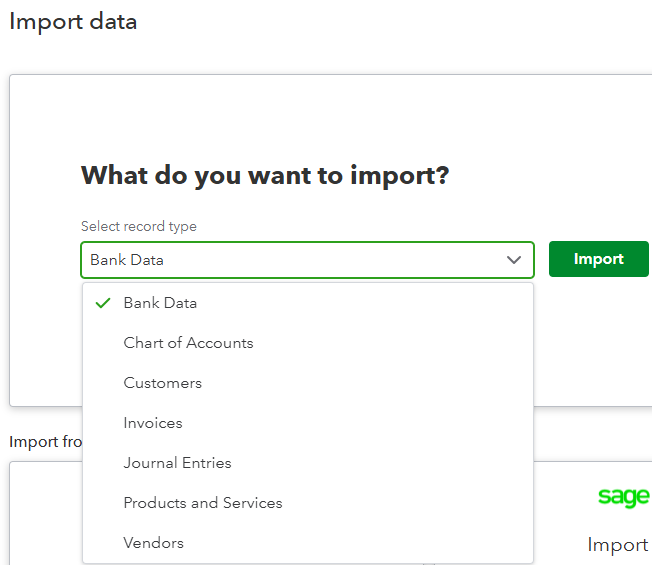
- Click Import data.
- Select Bank data and click Import.
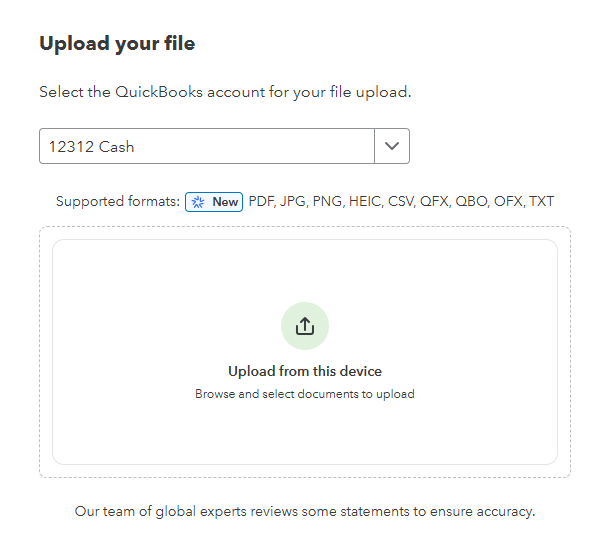
- Choose the bank account and click the Upload from this device.
- Match the file's columns to QuickBooks fields, then click Continue.
- Select the transactions you would like to import. Then select Continue.
- Click Yes, then hit Done.
If you need assistance managing bank transactions in QBO, consider consulting our QuickBooks Live Expert Assisted. They can provide valuable tips and support efficiently.
Don't hesitate to comment below for further assistance uploading historical transactions in QuickBooks Online.


