Let's manually add your transactions or charges in QuickBooks Solopreneur, Fernley. First, I need to ask you a few questions to find the best solution for your needs.
When you mentioned that your credit cards are unable to link, could you clarify whether the bank account you've connected to QuickBooks Solopreneur is a parent account of your credit card?
If it is, please note that QuickBooks only allows one account from each financial institution to be linked at a time. This means you can link either your bank account or your credit card account. If you wish to link your credit card, you'll need to unlink the parent account, which is your bank account, and then link your credit card instead.
However, if the bank account you’ve connected and the credit card you want to link are from different financial institutions, ensure you have entered the correct URL or name for your financial institution. Also, your bank may be undergoing system maintenance. I recommend contacting your bank to check for any maintenance updates or to request assistance in establishing a connection with QuickBooks.
Please be aware that there's no option to add a credit card account manually in QuickBooks Solopreneur. However, you can add transactions or charges manually or upload a bank statement from your credit card account.
Here’s how to add transactions manually:
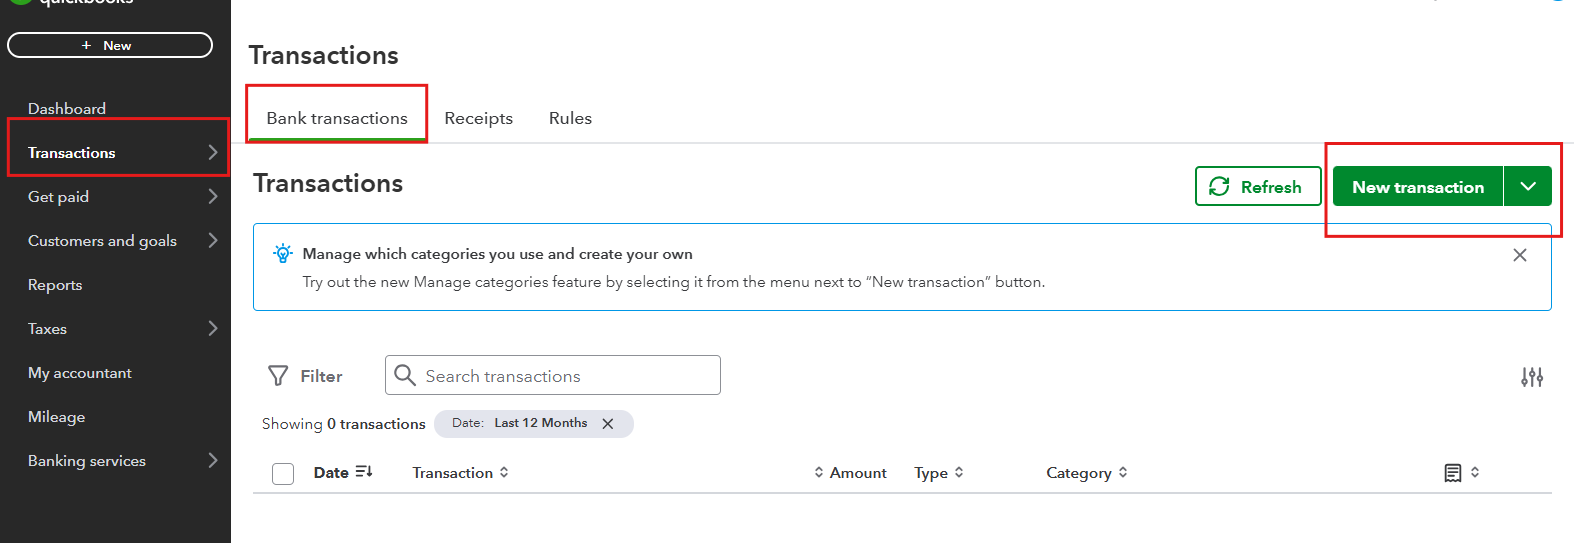
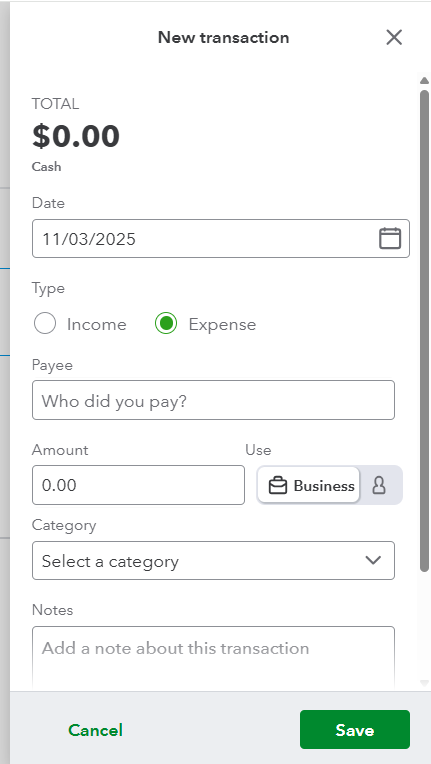
- Go to the Transactions menu and select New Transaction.
- Enter the amount and a description.
- Select a category from the Select a category menu to organize your transaction.
- If you have a receipt, you can drag and drop it onto the form.
- When you’re done, select Save.
For further information on categories, you can refer to this article about Schedule C categories: Schedule C and expense categories in QuickBooks Solopreneur.
And here's how to upload a bank statement from your credit card account:
- In the Transaction menu, click the New Transaction dropdown.
- Select Upload bank statement.

- Choose Drag and drop or select files, then select the file you downloaded from your bank. Click Continue.
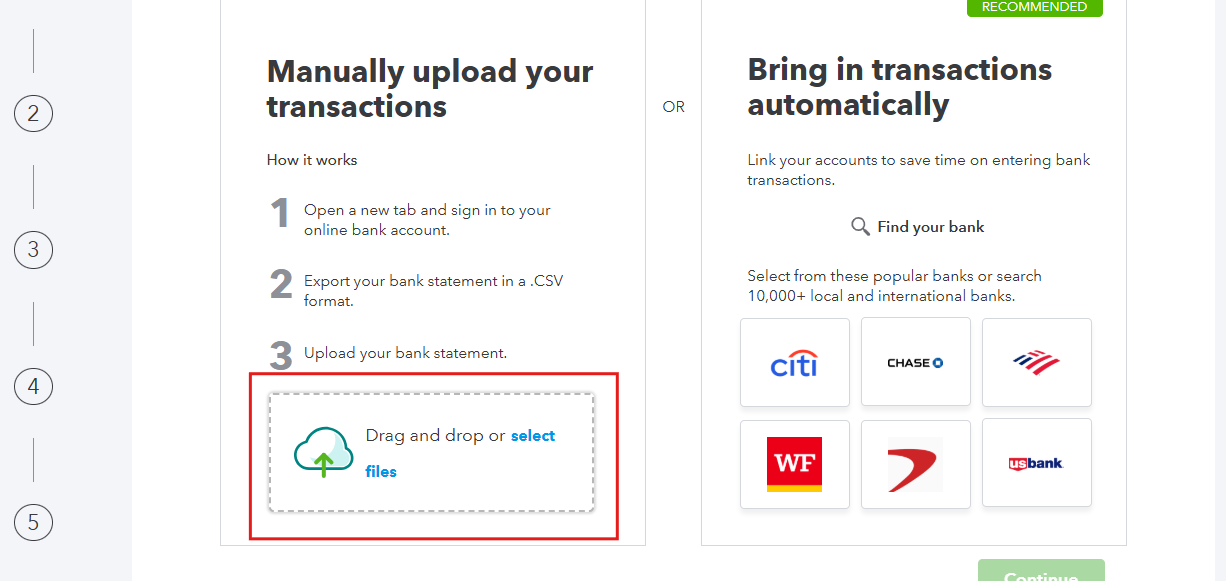
- Follow the on-screen steps to complete the upload.
- Select Yes, then click Done.
Feel free to reach out if you have any additional questions.


