I appreciate you sharing your concern, @ot4c.
To help you out even more, I'll connect you with our Live Support Team to take a closer look at your account in a secure setting and conduct a thorough investigation into the issue. To contact them, here's how:
- Click the (?) Help button in the top-right corner of your QuickBooks Online account.
- Choose the Assistant tab to get help from the QB assistant, or select the Search tab to enter your question and find Help articles.
Phone support is available on weekdays from 8:00 AM to 7:00 PM. You can request a callback during weekdays from 8:00 AM to 6:00 PM, and a support expert will contact you as soon as possible. Chat support is available weekdays from 8:00 AM to 10:00 PM and weekends from 8:00 AM to 6:00 PM.
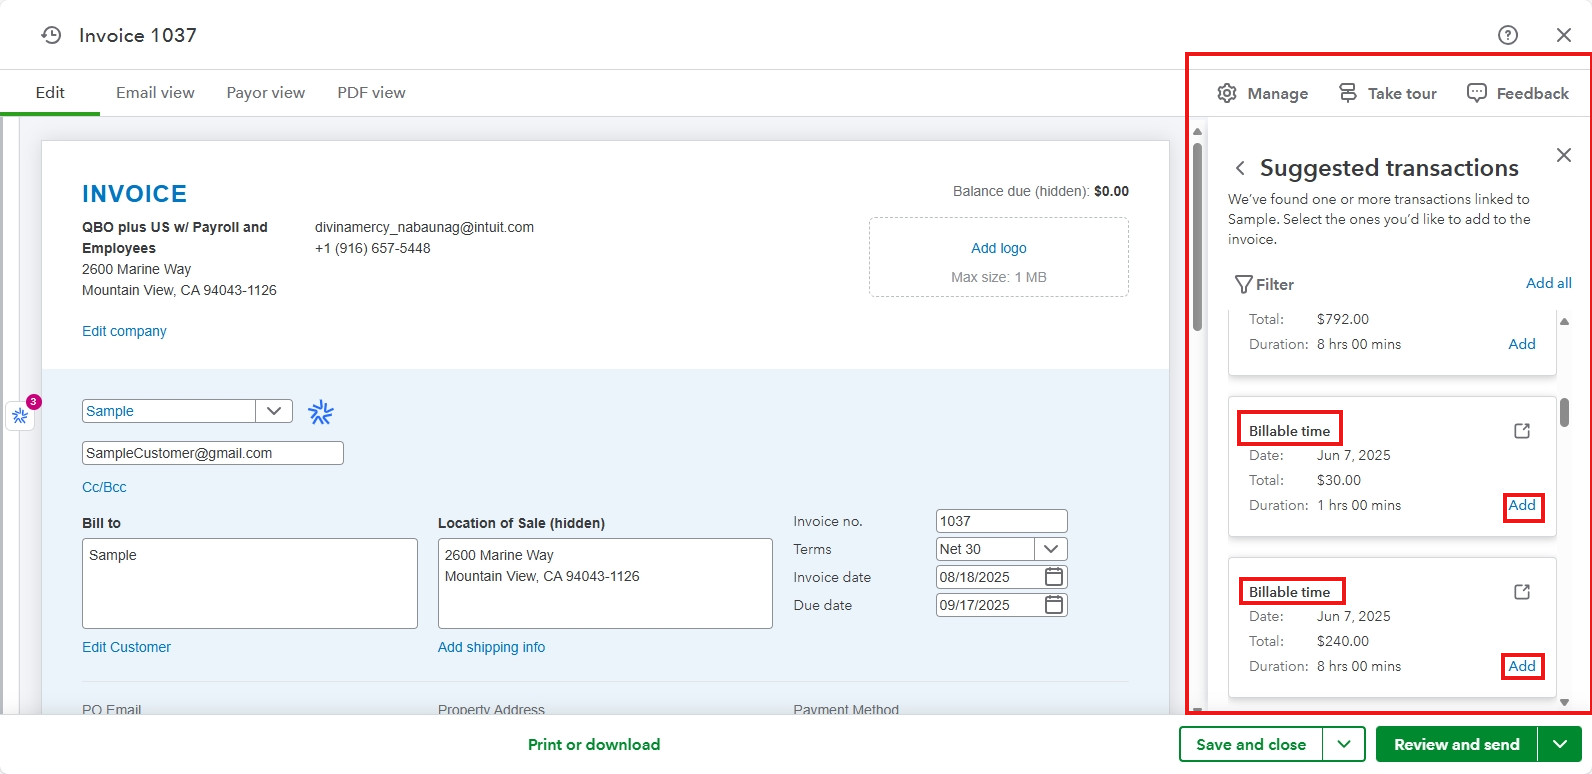
While our Live Support Team investigates this issue, you can use the following workaround to convert your billable time entries into an invoice. Here's how:
- Go to + Create and select Invoice.
- Choose the Customer you have billable time entries for.
- A Suggested transactions will pop up on the right side of the screen, showing the unbilled time and expenses for that customer.
- Select Add. The selected items will now appear on the invoice.
- You can then edit the invoice as needed and select Save and send or Save and close.
Please don't hesitate to reach out if you have additional concerns.


