QuickBooks Online can only auto-populate one email address per vendor profile, Ember. To manage your supplier's Purchase Orders and Bill Pay notifications, you can create two separate vendor profiles with the appropriate email addresses. I’m here to assist you with setting this up.
Since the software allows only one email address to be auto-populated, creating a new vendor profile with the appropriate email address for your supplier can help you manage your tasks more efficiently. To do so, here's how:
- Open your QuickBooks account.
- On your left navigation panel, select Expenses, then Vendors.
- Click the New Vendor button.
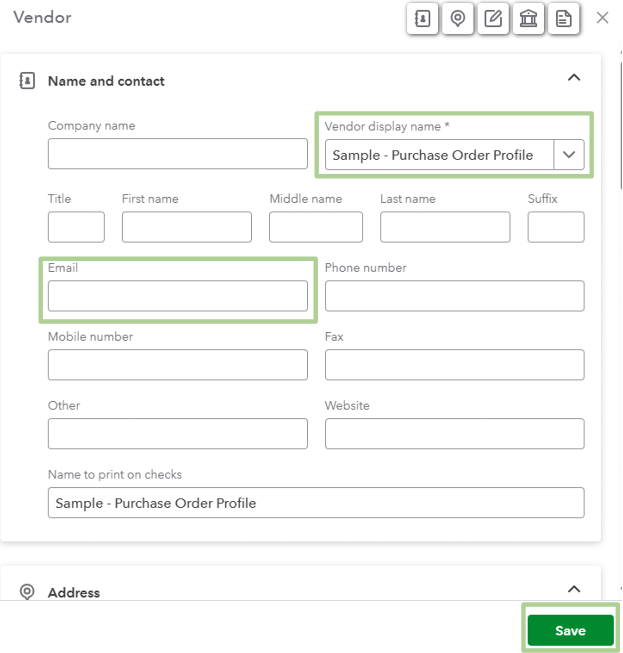
- Add the appropriate name in the Vendor display name field with a clear indicator to avoid confusion. For example, use Vendor Name - Purchase Orders and Vendor Name - Bill Pay.
- Add their Email and other information in the field provided.
- Once done, click Save.
For reference, please see the screenshot below:
You can also enhance your financial management with help from our QuickBooks Live Assisted team. Our experts make your financial tasks easier and offer advice tailored to your specific business goals. With just a click, you can get their guidance and achieve financial success for your business.
Additionally, you can bookmark these articles for assistance with managing your vendors and handling suppliers who use different currencies in QuickBooks:
If you have any additional questions or concerns about managing vendor profiles and forms, Ember, please don't hesitate to post them in the Community forum. We are here to support you.


