If you haven't printed the checks yet, the starting number will remain the same, @kdex.
Could you please clarify whether the checks you intended to print are still in the printing queue, or have they all been removed?
If they're still in the queue, you can edit the starting number in the Starting check number box.

If they're not there, it's possible that after clicking the X button, a pop-up appeared asking if the checks were printed correctly. If you selected the option Yes, they all printed correctly and clicked the Done button, that action confirms that the checks were successfully printed.

This updates the system and removes the checks from the printing queue, resulting in a new starting check number to appear.
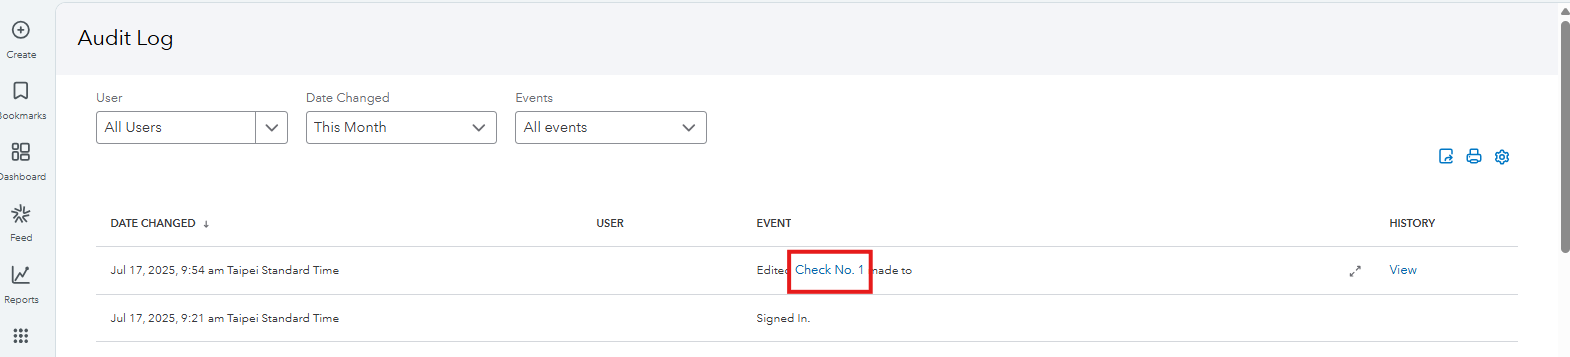
In this case, you'll have to go to the Audit log to retrieve the checks and place them back in the printing queue. Here's how to do that:
- Click the Gear icon in the upper right corner.
- Select Audit log.
- Click on the check you wanted to print under the Event column to view it.
- Check the Print later box to return it to the printing queue.
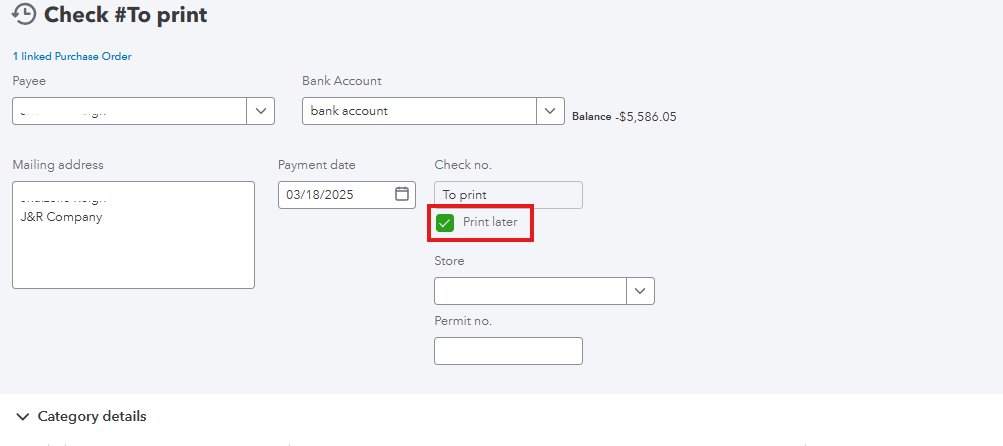
Afterward, you can edit the starting number in the Starting check number box and proceed to print your checks.
Also, make sure your printer is set up for QuickBooks so that your checks align and print correctly.
Once everything is sorted out, you may want to consult with our QuickBooks Live Expert Assisted team for tips on maintaining accurate records within the program.
If you have any additional questions, feel free to revisit this thread.


