Turn on suggestions
Auto-suggest helps you quickly narrow down your search results by suggesting possible matches as you type.
Showing results for
Get 50% OFF QuickBooks for 3 months*
Buy nowI need to see which customers have set up autopay on their monthly invoices, I used to be able to look at the Invoice Activity section for ea. customer, but now it isn't showing anything about auto pay scheduled? I know certain customers are on autopay. However, the system doesn't show it. This really needs fixing. We should be able to go to recurring transactions and see a list of who has elected for autopay instead of going to each individual customer's invoice activity. Even that isn't working anymore! Please help me find where I can see who has set up autopay! I need to create a report today!!

I'm here to help you, @LFacctg. We can run a Customer Contact List Report as a workaround to identify the customers on autopay. I'll outline the steps for you below, along with some recommendations to help you create the report quickly and efficiently.
Before we proceed, I want to ensure that we thoroughly investigate the issue with the missing Autopay Scheduled status in the Invoice Activity Tracker. To accomplish this, I recommend reaching out to our Live Support Team. They can assist you further via a screensharing session, allowing them to better understand the situation and provide targeted solutions.
Here's how:
Please know that for Plus, Essentials, and Simple Start subscribers, support is available Monday through Friday from 6 AM to 6 PM PT and on Saturday from 6 AM to 3 PM PT. Advanced subscribers can contact support at any time.
Since the Autopay Scheduled status isn't accessible on your end, we can create a new customer type and label it as "Autopay." Then, we will tag your customers who use the autopay method with this classification. After that, we'll generate a Customer Contact List Report and customize it to display all your autopay customers.
Create a Customer Type

Apply the Customer type to your customers

Run a Contact List Report


In addition to this, if you want to inform your customers about any outstanding balances or invoices, you have the option to send them statements. This is a great way to keep your customers updated on their financial status. To learn more about it, visit this resource: Create and send customer statements in QuickBooks Online.
I'd love to assist you with any questions or concerns you might have about managing payments or reports related to your customers and sales forms. Please don't hesitate to reach out. I'm always here to help. Wishing you a great day ahead!
I’ll add feedback to QBO as well, but why can’t this be in the clients profile? Or be an icon on the recurring transactions page that shows a customer is on autopay?
Currently, QuickBooks Online displays the Autopay indicator on invoices only when they are created using a Scheduled recurring template, DesertIslandPools.
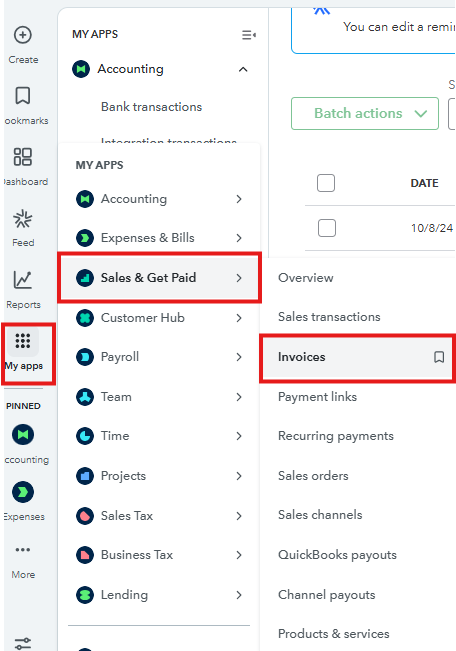
To check this status, you can access the View activity drawer by following these steps:
If the Autopay indicator does not appear in the invoice activity, we recommend contacting our Live Support Team. They can assist in identifying the issue and provide troubleshooting steps to resolve it.
Adding an Autopay indicator to the customer's profile is a valuable suggestion that would enhance customization options for your business needs. You can share this idea with our product development team by submitting feedback:
Please don't hesitate to comment below if you have any additional questions or concerns. We're always here to help.


You have clicked a link to a site outside of the QuickBooks or ProFile Communities. By clicking "Continue", you will leave the community and be taken to that site instead.
For more information visit our Security Center or to report suspicious websites you can contact us here