Turn on suggestions
Auto-suggest helps you quickly narrow down your search results by suggesting possible matches as you type.
Showing results for
Connect with and learn from others in the QuickBooks Community.
Join nowHello,
Here is the FAQ and article on QuickBooks Data Protect.
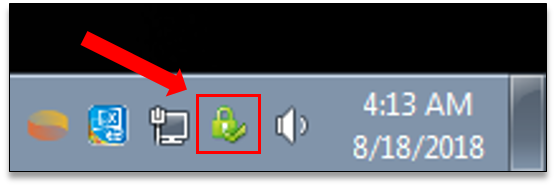
Thanks for reaching out, @Addie2018, and welcome to the QuickBooks Community. I believe you are referring to Intuit Data Protect. This is a service of which Intuit provides an online system for backing up your QuickBooks data in the event of some unforeseen incident. Depending on the version you have, you may also be able to back up files from your computer as well to the same online servers. Below, you will find a small breakdown of the different versions of Intuit Data Protect:
Intuit Data Protect Options(With current pricing):
Note: Annual subscriptions include a 60-day money back guarantee.
Should you want to set this up for your data, I've included steps for you down below:

Note: For first-time setup, the checkboxes will not show up. Keep selecting Continue until you reach the home screen of IDP. Select Change backup settings, then keep clicking Continue until you reach the Notification Email Settings window again. The checkboxes should now be available.
For your reference, here is an article that can help you further with setting up Intuit Data Protect: Set up Intuit Data Protect (IDP) to back up files. Additionally, in an effort to make sure you have everything you'll need going forward, here is an FAQ article about Intuit Data Protect: Intuit Data Protect: Frequently Asked Questions (FAQs).
It's my goal to make sure you are taken care of, so if you have any questions about the information I've provided, or if the FAQ doesn't answer something for you, feel free to reach out to me here in the Community. I'm always here to help.


You have clicked a link to a site outside of the QuickBooks or ProFile Communities. By clicking "Continue", you will leave the community and be taken to that site instead.
For more information visit our Security Center or to report suspicious websites you can contact us here
