Turn on suggestions
Auto-suggest helps you quickly narrow down your search results by suggesting possible matches as you type.
Showing results for
Get 50% OFF QuickBooks for 3 months*
Buy nowI have QuickBooks Pro 2014. In ONE company only, in the "Write Checks" view, the "Expenses" tab detail is not fully visible. I can see the first three columns (Account, Amount, Memo), but not the last two (Customer, Class). I have tried "Repair File and Network Problems" under Utilities but that won't actually run. How do I fix this?

Hello, DebsBoykinFarm.
Thank you for reaching out here in the Community. I appreciate the steps you've performed to isolate the issue.
As an initial step, I recommend keeping your QuickBooks up-to-date to fix some commonly known issues. Here's how:
If you have and you're still experiencing the issue, I recommend running the Verify Rebuild tool. This scans your company files for issue and self resolves them immediately. Let me show you how.
To Verify:
To Rebuild:
You can also read this article for more details: Verify and Rebuild Data in QuickBooks Desktop.
Give this a try and let me know how it goes. Post again in the Community if you need anything else, I’ll be more than happy to help. Wishing you and your business continued success. Take care!
test (I received authentication fail message on first attempt)
Hi Ailene, thanks for your help and quick response. I followed these instructions and the problem is still occurring. A couple of notes when I took the steps:
1) When I ran updates, most worked but Status reads Error #15225 for New Features and Pro, and Error #403 for Service Messages.
2) I was never prompted to install a new release.
3) When I ran Verify Data, message indicated No Problems
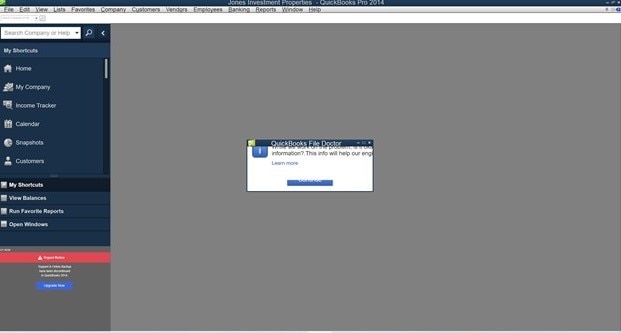
4) I am uploading here a view of what the box looks like when I try to run Repair File and Network Problems
Thank you,
Debra
I appreciate you taking the time posting in the Community. Let's get Error 403 and 15225 sorted for you and back on track, DebsBoykinFarm.
QuickBooks Error 15225 occurs when downloading or installing the latest software updates and it usually occurs because of the incorrect internet explorer configuration.
It generally arises when QuickBooks tries to verify the digital signature of all files downloaded by the program.
Causes for QuickBooks Error Code 15225:
One thing to do before starting up with the troubleshooting steps create a backup of a company file. Make sure to back up the company file because if there would be any fall back in between the process so you can reach back to the same position where you started.
5 Simple Steps to Fix QuickBooks Error 15225.
Step 1: Update QuickBooks Desktop
Step 2: Add Intuit URL as a Trusted Website
STEP 3: Install a digital signature certificate
Step 4: Turn Off Firewall and Network Protection Temporary
This issue may arise because the firewall or some security software is blocking to download the latest updates. It’s good to turn them off for a temporary period of time.
Now try to install the latest updates of QuickBooks.
If the above steps won’t work, you may also need to Uninstall and Reinstall QuickBooks Desktop in order to fix this problem permanently. It also could be your computer Windows issues.
Make sure to restart your computer before downloading an update. Let me also route you to these articles for more details:
While error code 403 occurs when there is some misinterpretation of the proxy details accessed by the software. The main reason behind this is that the user is denied access to connect with the Web.
You can follow these steps below to get rid of these errors. Here’s how:
To resolve the error 403, you can follow these steps:
Here's an article that you can check on: Fix error 403 in QuickBooks Desktop
In case these specific methods doesn’t make a change, you can also try this tool to resolve them: Repair your QuickBooks Desktop for Windows.
Should you have other concerns or questions, know that you're always welcome to post here anytime. Stay safe always!


You have clicked a link to a site outside of the QuickBooks or ProFile Communities. By clicking "Continue", you will leave the community and be taken to that site instead.
For more information visit our Security Center or to report suspicious websites you can contact us here