Turn on suggestions
Auto-suggest helps you quickly narrow down your search results by suggesting possible matches as you type.
Showing results for
Get 50% OFF QuickBooks for 3 months*
Buy now
It will take a few steps, Camphuntinvoices.
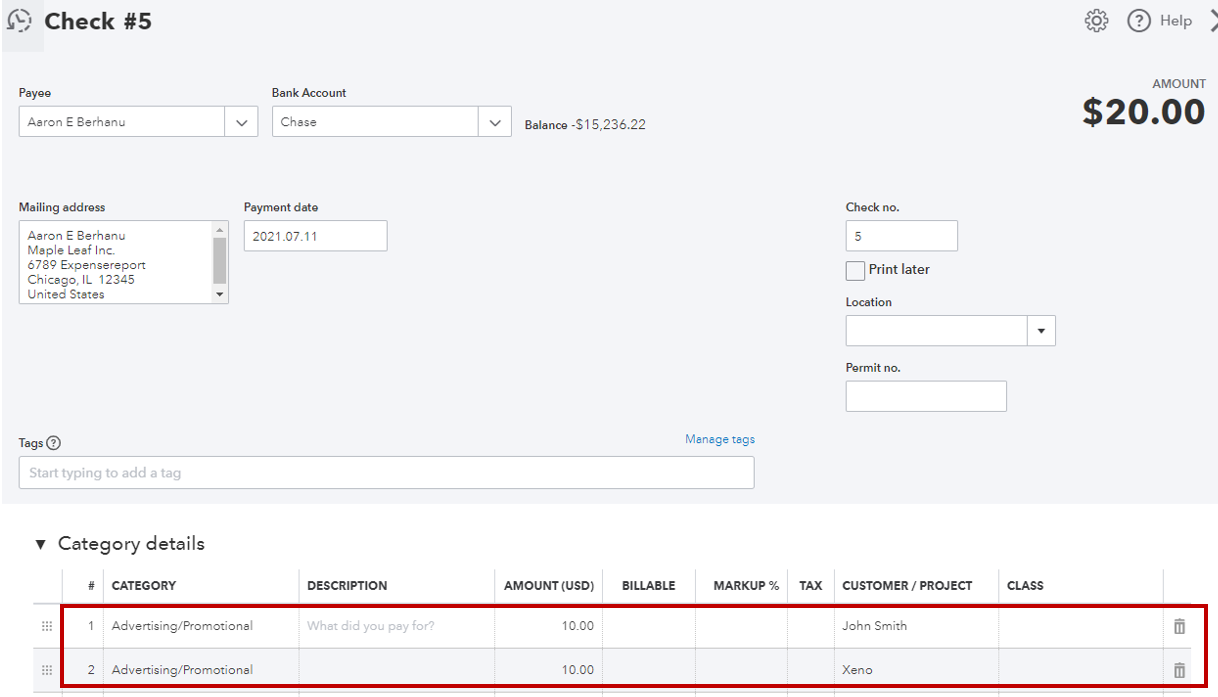
You can assign a customer per line item in a check. It'll help you split the transaction. Let me guide you with the steps:
You can check this article to help you with managing billable expenses: Enter billable expenses.
Feel free to visit us if you have other concerns. We'll respond as soon as we can. Keep safe!
Thanks for your reply. I'm not seeing the Customer/Project column when I log in and follow the outlined steps. The only columns I see are Category, Description, Amount. How do I make that column appear?
Hello, @camphuntinvoices.
I appreciate you for following the steps shared by my colleague. Allow me to chime in and share additional insights.
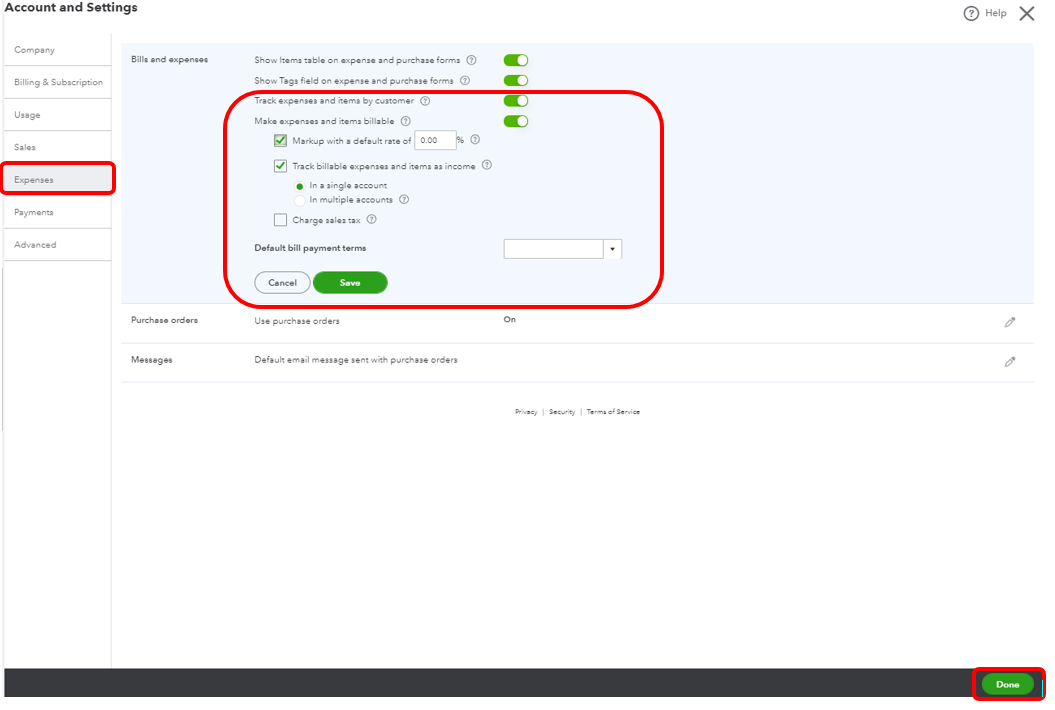
Let’s turn on the Make expenses and items billable and Track expenses and items by the customer in the Account and settings. This way, you can see the Customer/Project column. Also, make sure that the Project feature is turned on. Let me show you how.
In case you haven't turned on the Project feature, see this article: Set up and create projects in QuickBooks Online.
Once done, you can now follow the steps shared by Kristine Mae to assign a customer per line item using a check. For more info, check out this article: Create and record checks in QuickBooks Online.
Also, kindly visit these articles for more information on how to record billable expenses and track expenses in QBO:
Let me know in the comments below if you have other concerns about managing your accounts in QuickBooks. I'll be glad to help. Take care always.


You have clicked a link to a site outside of the QuickBooks or ProFile Communities. By clicking "Continue", you will leave the community and be taken to that site instead.
For more information visit our Security Center or to report suspicious websites you can contact us here