Thanks for adding more details, tnelson75.
Yes, you’re correct. The county will only show on the job level and not on the customer name. If you recently added the county field, the changes only apply to the current transactions.
As a workaround, we’ll have to toggle the name listed in the Customer: Job field to another one and then enter the correct job. This way, all previous transactions will be associated with the county it belongs to.
You'll have to perform the steps one at a time for each job level. Here's how to update the entries:
- Go to Customers at the top menu bar to select the Customer Center.
- Tap the Transactions tab on the left panel.
- From the list, choose the transaction you’re working and then double-click on it to see more details.
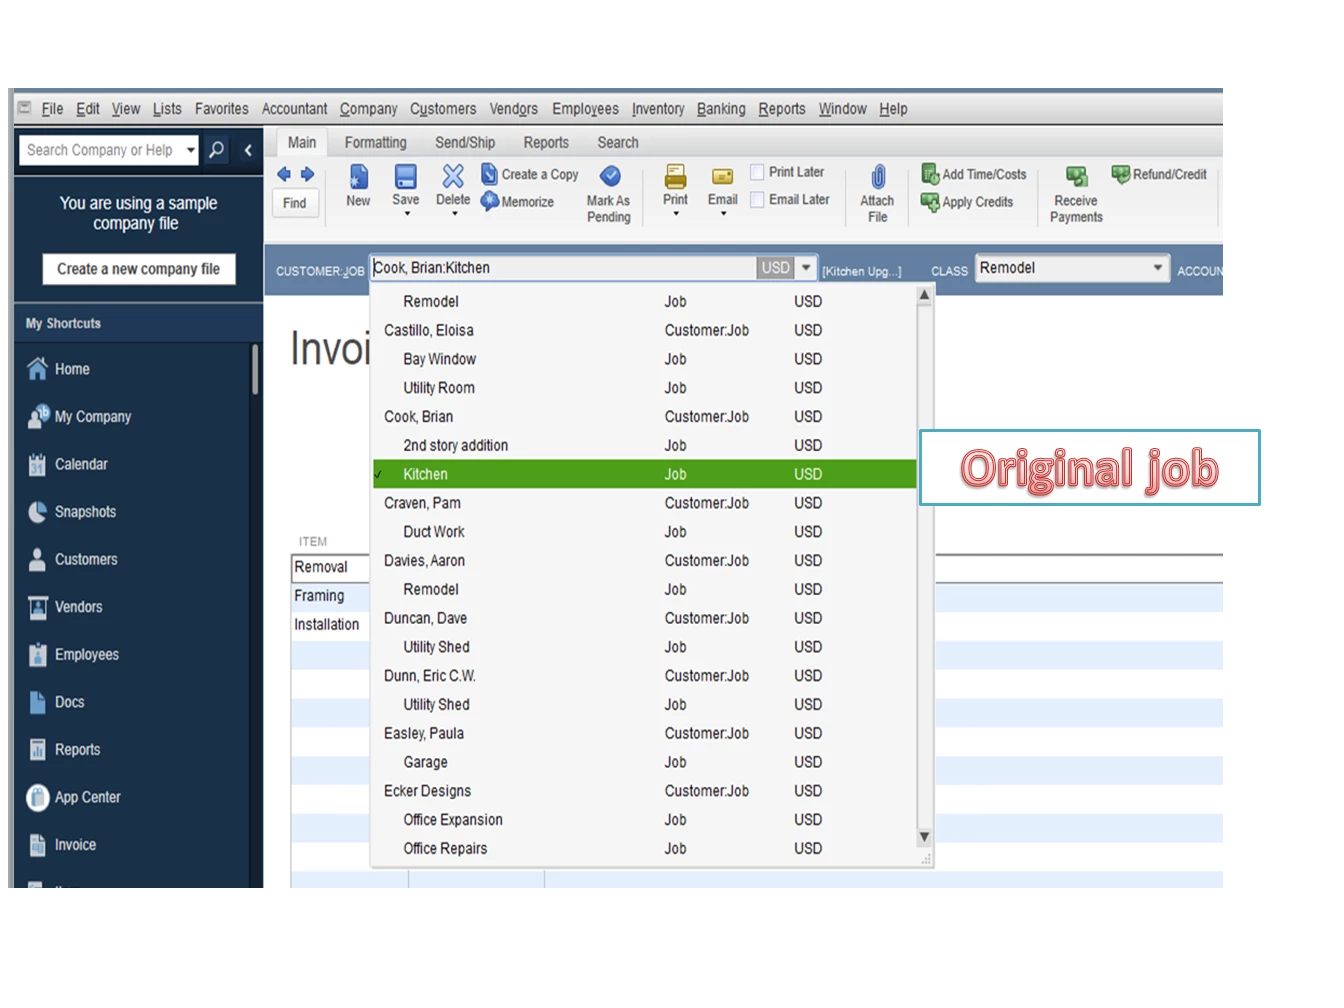
- In the CUSTOMER: JOB drop-down, select another customer and then hit the Save icon at the top bar.

- Click Yes to confirm the action.
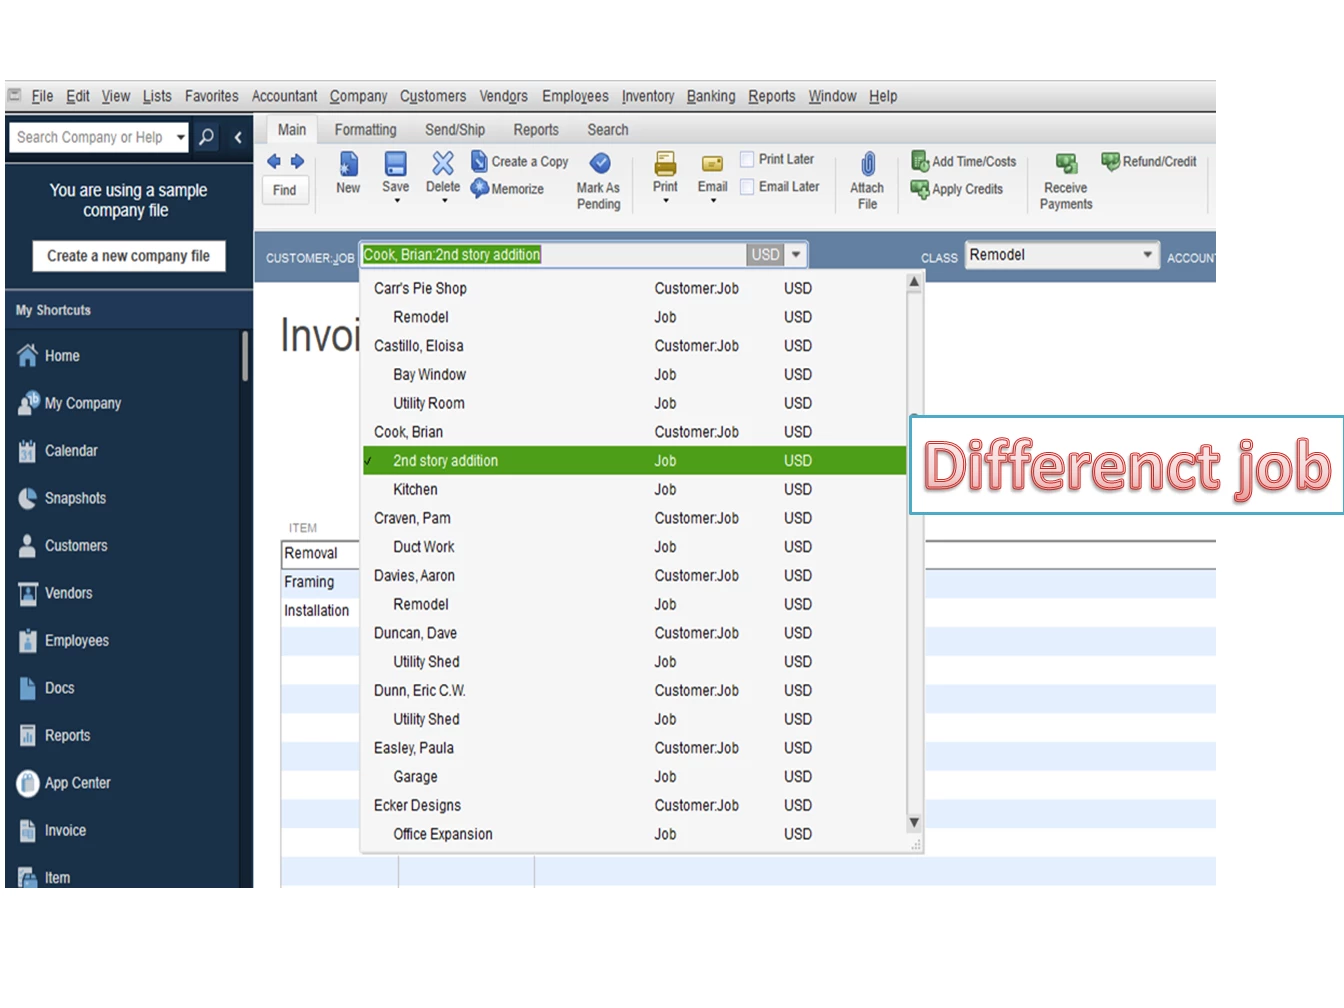
- On the same entry, click the Customer: Job drop-down to choose the correct job/customer.
- Hit the Save icon and Yes to confirm the process.
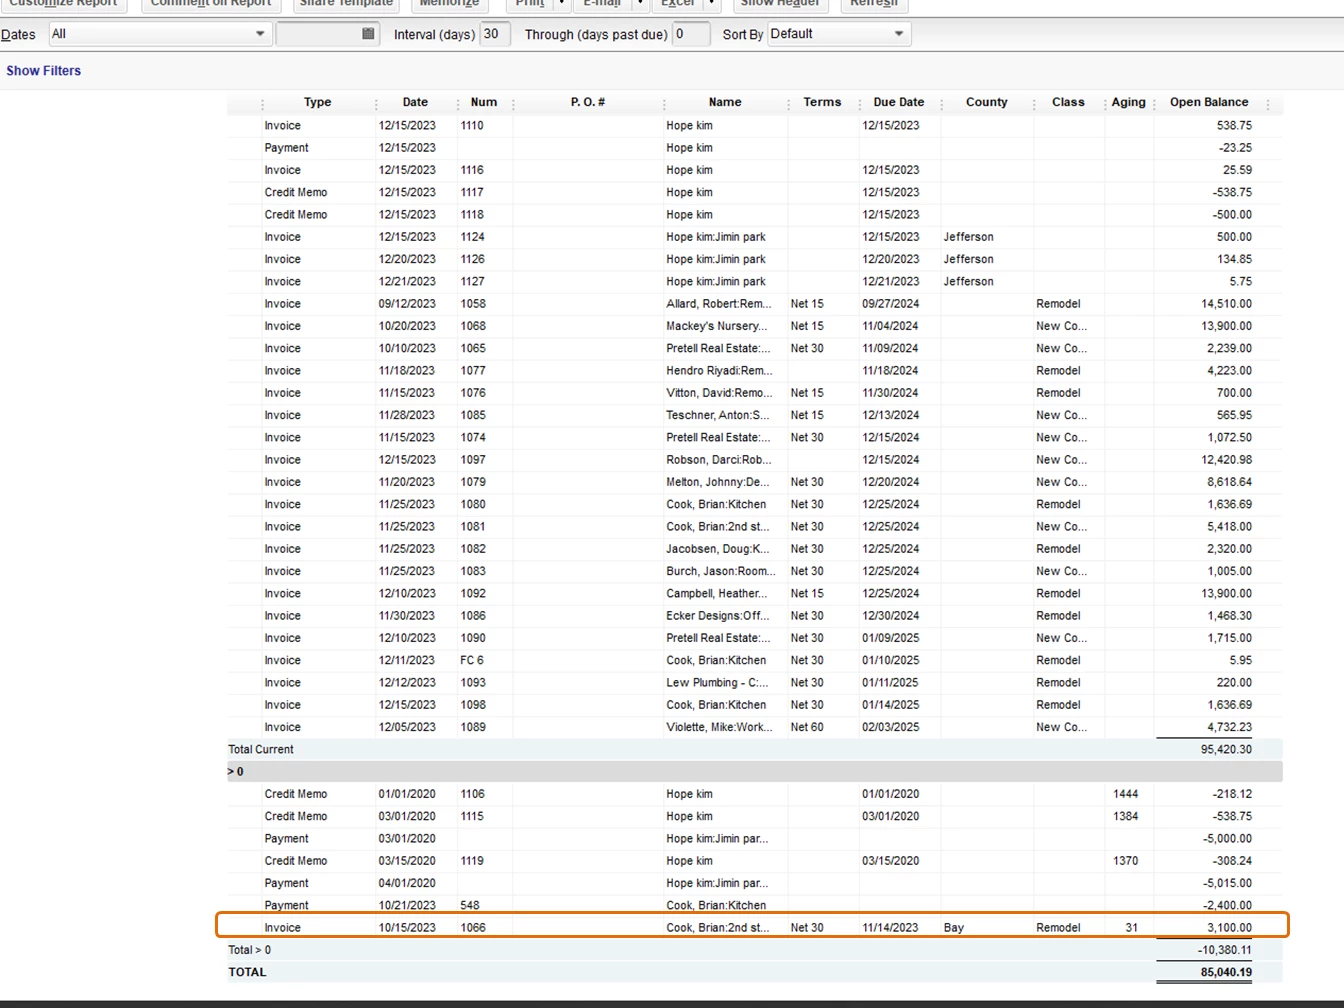
After performing these steps, the transaction is now tracked to the county.
For additional resources, let me share the Understand reports guide. It provides an overview of how QuickBooks builds the data on a report.
Let me know if you have any other concerns or questions. I’ll be right here to answer them for you. Have a great rest of the day.