cancel
Showing results for 
Search instead for 
Did you mean: 
Hezzy
Level 2

Invoice Email Template

Is there a way to make it so that our invoice email template can include a specific field that we have listed on our invoice? For example, we have a custom field on our invoice called "project name". Is there a way to get that "project name" to show up automatically in the subject line of the invoice email? Thank you!

10 Comments 10
Elishia T1 Agent
Level 1

Invoice Email Template

https://quickbooks.intuit.com/learn-support/en-us/customize-forms/customize-invoices-estimates-and-s...


Customize invoices, estimates, and sales receipts in QuickBooks Online

Learn how to personalize your sales forms and add the info that matters most to your business.

QuickBooks Online gives you the tools to create attractive, professional-looking invoices, estimates, and sales receipts. Custom sales forms are a simple and effective way to enhance your business' brand.

You don’t need to be a designer to make eye-catching designs. And they let you control what info your customer sees.
You can customize the appearance and layout of your sales forms. Once you create your masterpiece, save it as a custom template so you can use it at any time. The steps are a little different if you are a new QuickBooks customer as of March 2020. Follow the steps for your version.

Am I in Business or Accountant view?

https://youtu.be/b51wvS-4g1w


If you use QuickBooks Online Essentials, Plus, Advanced, or are in Accountant View

You can create separate templates for your invoices, estimates, and sales receipts. You can also have multiple templates for each form.

Step 1: Create a new template
  1. Go to Settings ⚙ and then select Custom Form Styles.
  2. Select New Style.
  3. Select the type of form you want to create.
Step 2: Design your template

You'll see a preview of your changes as you make them. Whenever you're ready to save your changes, select Done.


To adjust the general layout and look of your template:

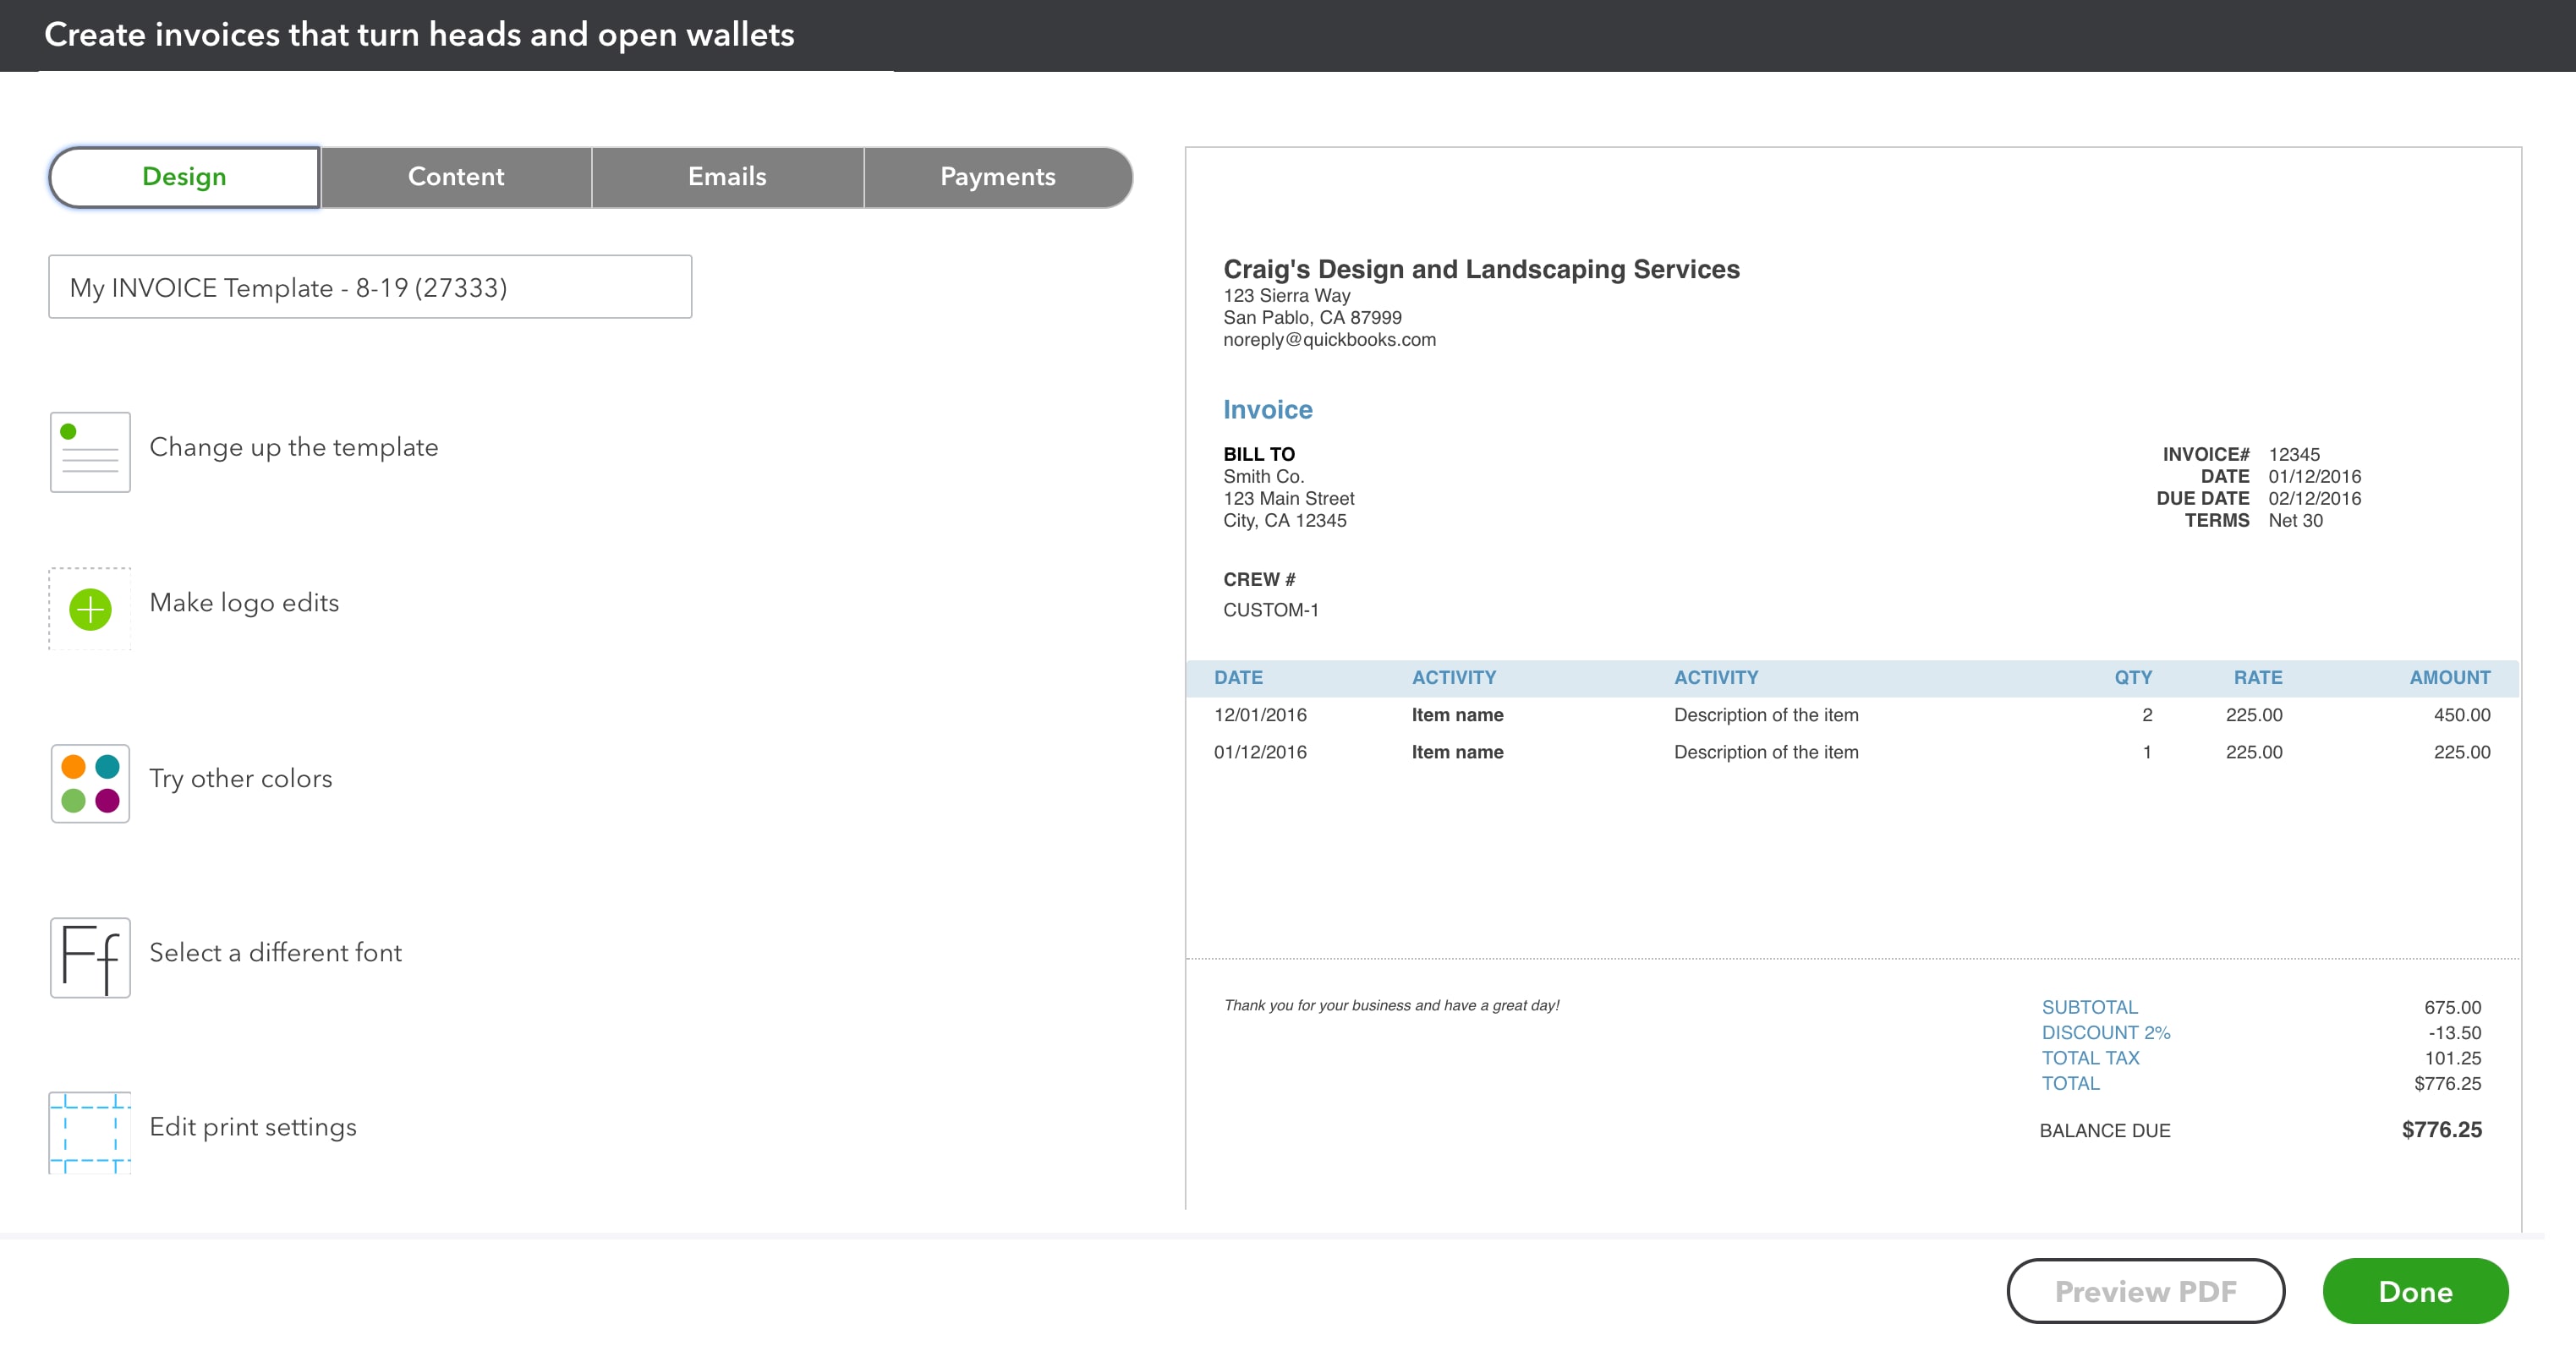
  1. Select the Design tab.
  2. Give your template a name.
  3. Select Dive in with a template to choose a layout. These layouts are fixed. We recommend the Airy Classic. If you want to add SKUs or create progress invoices, you need to use Airy Classic.
  4. Select Add your unique logo to upload a new logo.
  5. Select Splash on some color to pick a color scheme. You can also enter a hex code to use a truly custom color.
  6. Select Get choosy with your font to change the font and size.
  7. Select When in doubt, print it out to adjust the margins. This is important if you send printed forms to your customers.
Create a custom logo
Step 3: Customize the info on your forms

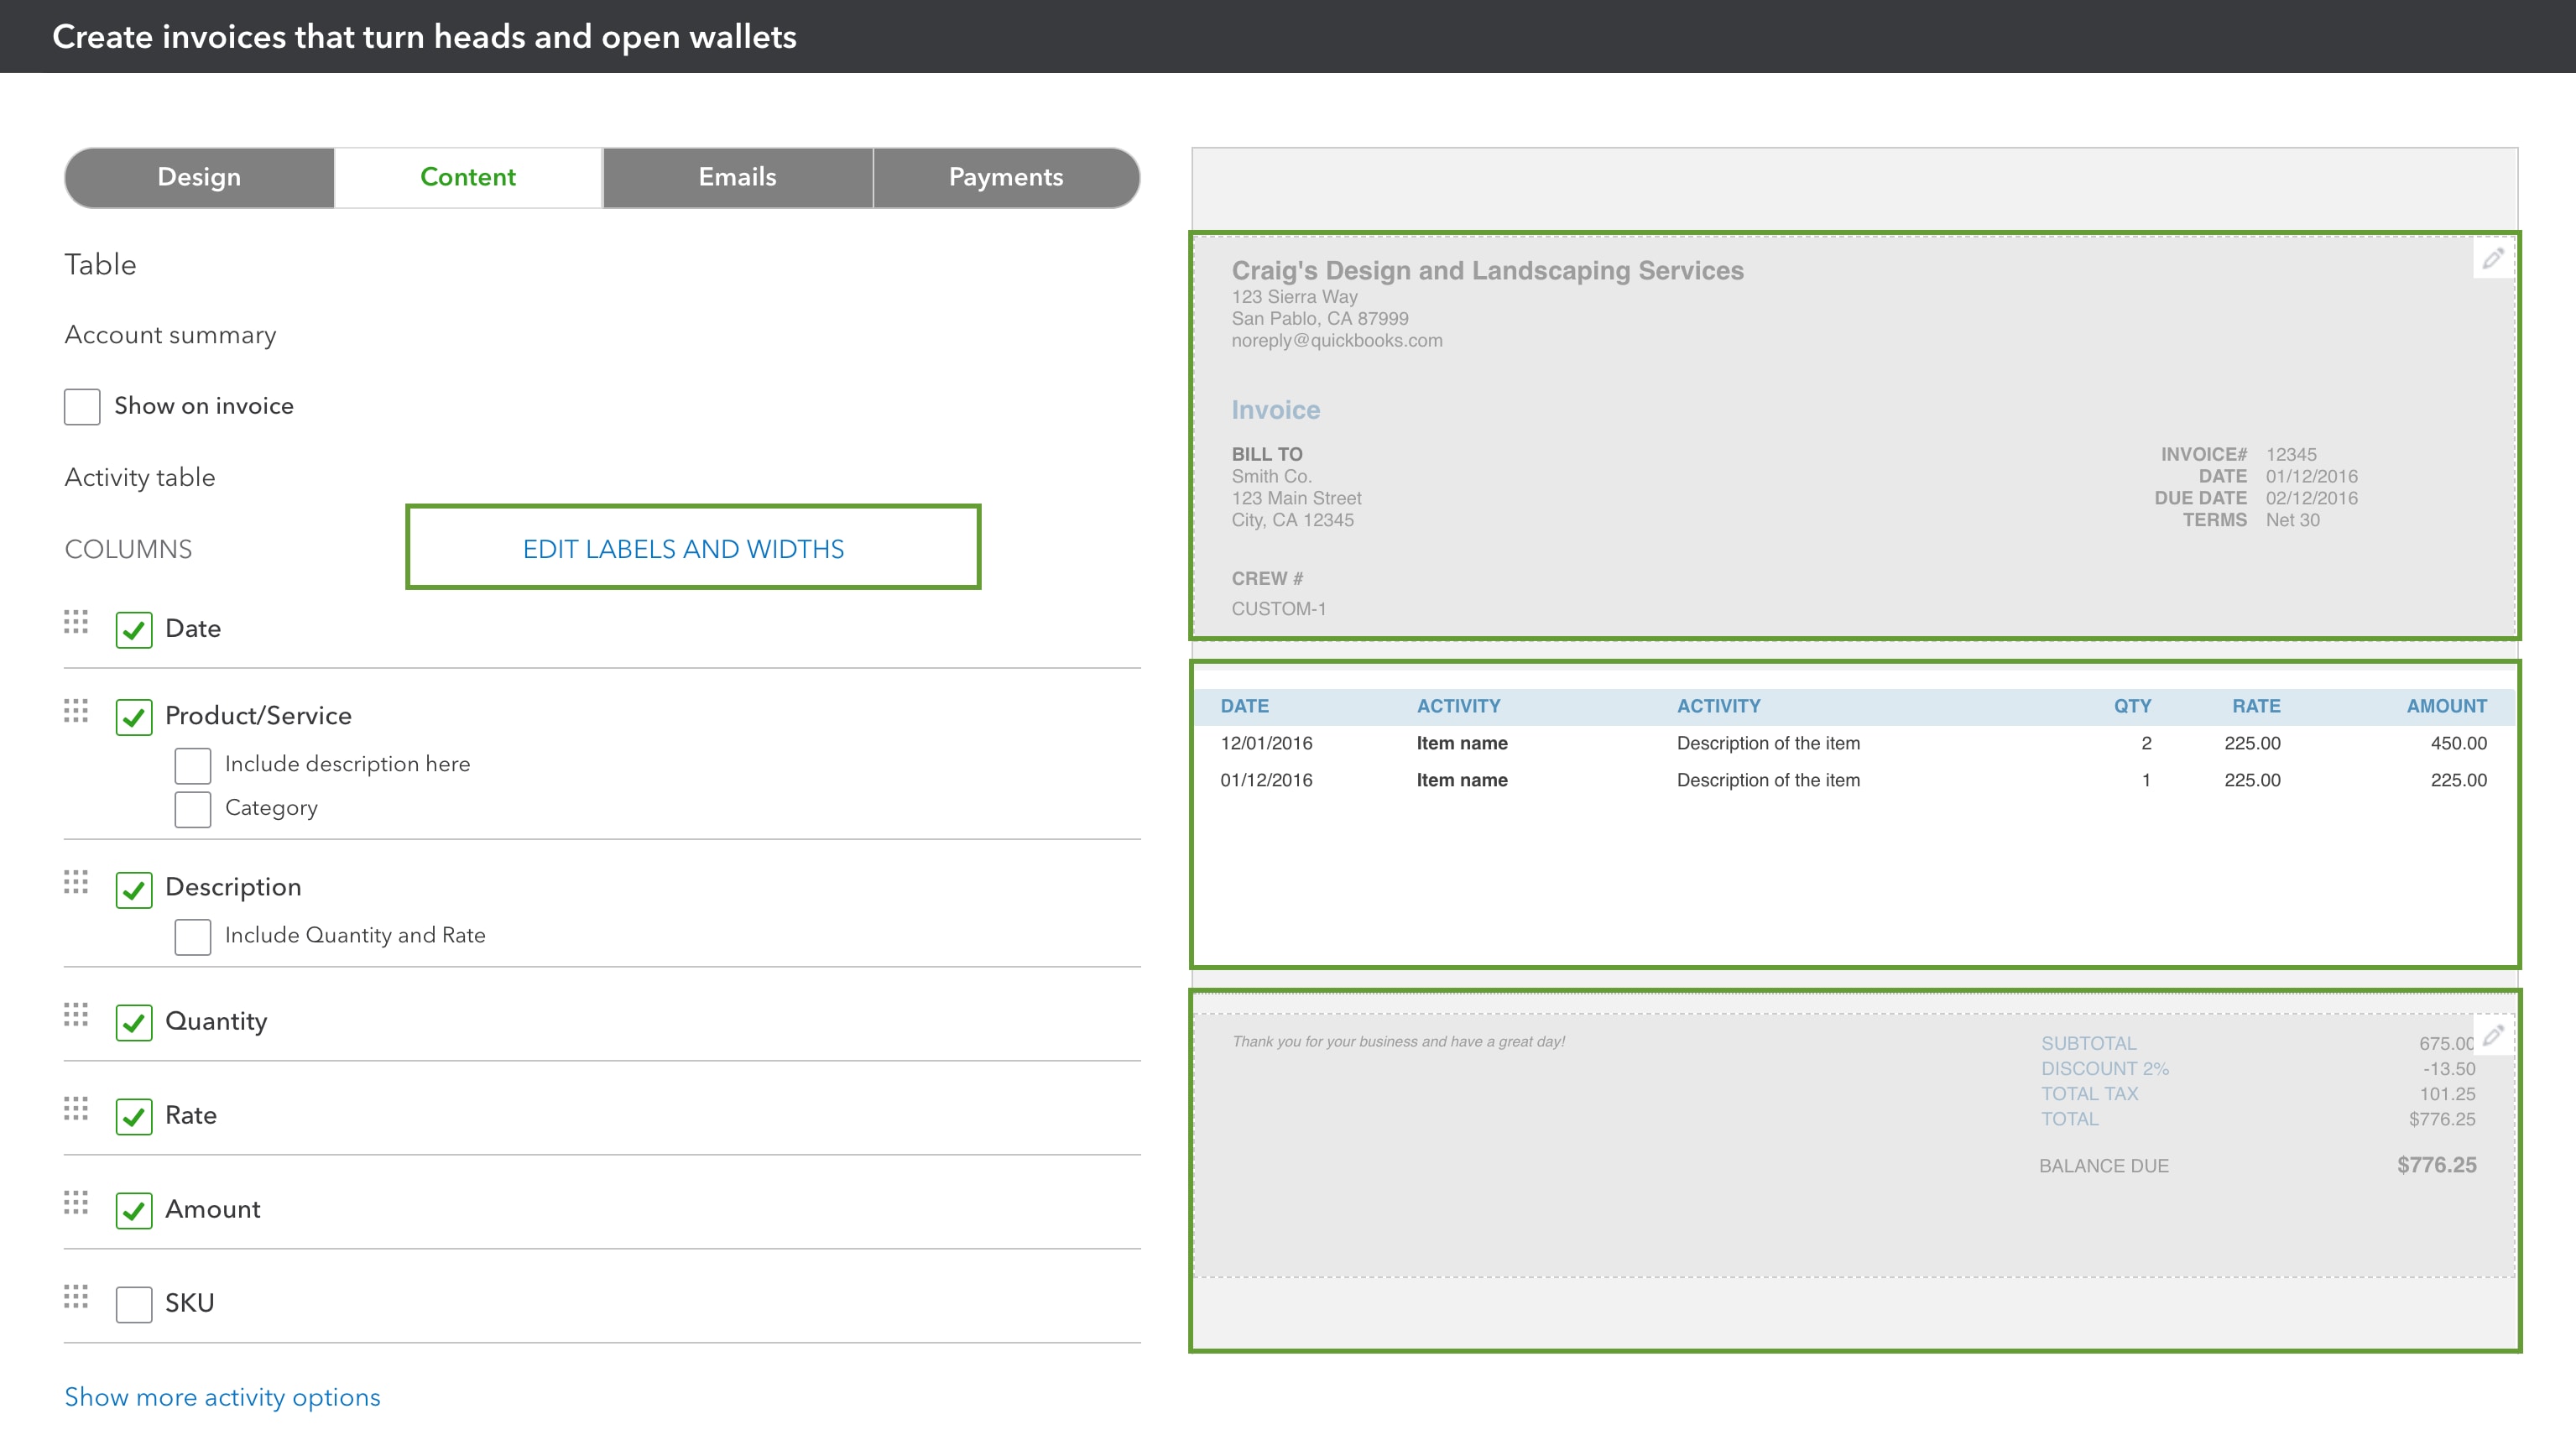
Go to the Content tab to start customizing the details. Forms have three sections: header, table, and footer.
Select a section on the sample form to edit the fields. You'll edit each section separately. You can edit, add, or remove data fields on custom forms. You have many options. We won't cover them all, but here are a few highlights:


Change data field labels
  1. Select one of the sections (header, table, or footer). If you select the table section, select Edit labels and widths first. Then you can edit the data fields.
  2. Select a data field.
  3. Enter a new label. 
Edit your company info

Your company info automatically appears in the header. Remove or edit the fields if you want customers to only see certain info.

  1. Select the header section.
  2. Edit the fields.
  3. Select and uncheck the box to hide a field.
Show or hide data fields
  1. Select one of the sections.
  2. Select the checkboxes to show or hide fields.
Add custom fields in the header section
  1. Select the header section.
  2. Select + Custom field.
  3. Enter a label for the custom field.

You can add up to three custom fields.


Add invoice numbers
  1. Select the header section.
  2. Select the Form numbers checkbox.
Add or remove item descriptions
    1. Select the table section.
    2. Select Edit labels and widths.


  1. If you want add the description in a single column select the Product/Service checkbox and then select the Include description here checkbox.
  2. If you want to add the description in a separate column, then select the Description checkbox.
  3. Select and uncheck the box to remove the description.
Change column widths
  1. Select the table section.
  2. Select Edit labels and widths.
  3. Use the sliders to adjust the width.

To remove a column completely, select and uncheck the column label's checkbox.

Reorder the columns
  1. Select the table section.
  2. Select Edit labels and widths.
  3. Drag the square icon next to a data field to a new spot on the list.
Step 4: Personalize your email message

Make things personal and change the message customers see when they get their invoice or sales receipt. If you want to use your default messaging, you can skip this.
In the Custom Form Styles window, go to the Emails tab. You can change the subject line, greeting, and message body. You can even customize reminder emails.

Step 5: Turn on online payments for invoices

If you want to get paid faster, let your customers pay their invoices online.
By default, invoices aren't set up for digital payments. You need to turn on QuickBooks Payments. This is an add-on payment processing service.
If you haven't already, you can turn on payments once you're finished customizing your form:

  1. Select + New.
  2. Select Invoice or Send Invoice.
  3. In the Online Payments section, select Finish setup.
  4. After you sign up, go back to the invoice. Select and check the payment options you want to make available.


Learn more about QuickBooks Payments.

Step 6: Apply a template to an invoice, sales receipt, or estimate

QuickBooks uses whatever you set as your default template each time you make a new invoice, sales receipt, or estimate. You can also select a specific template for specific transactions directly on the form:

  1. Create or open an existing invoice, sales receipt, or estimate.
  2. Select Customize in the footer.
  3. Select a custom template from the list.
Step 7: Edit custom templates

To manage your custom templates, select Settings ⚙ and then Custom Form Styles

QuickBooks creates a standard template based on the first custom template you create. It's your default for invoices, sales receipts, and estimates. To set one of your custom templates as the default:

  1. Find your template.
  2. Select the ▼ in the Action column.
  3. Select Make default.

To edit a custom template:

  1. In the Custom Form Styles window, find your custom or standard template.
  2. Select Edit in the Action column.
If you use QuickBooks Simple Start or the simple invoice template in Business view

All the tools you need to customize invoices are on the form itself. Note: In QuickBooks Simple Start, you can have one invoice template at a time. You can customize invoices, but not other types of sales forms.

  1. Create or open an invoice.
  2. Select Edit company and decide what company info you want your customer to see customers see.
  3. Select Save when you're done.
  4. Select Add logo to upload your logo.
  5. Select Settings to start customizing the layout and appearance.
Customize your invoices

You can add fields, change the color scheme, and enable payments directly on the invoice form. Here are just a few things you can do:

  • Select the Invoice details section.
  • Select the Terms, Ship to, Form numbers or Due Date switches to add or remove these fields from the form.
  • Select the Invoice details section.
  • Select the Add field switch to create a custom field. You can name the field whatever you'd like.
  • Select the Totals section.
  • Select the Sales tax switch to turn it on.
Important: Sales tax isn't turned on by default. If you need to collect sales tax and haven't set it up yet, select Activate. Here are detailed steps for how to set up sales tax.


  • If you've set up QuickBooks payments, select the Payments section to turn on payment options for your customers.
  • Select the Look and Feel section to change the colors, font, and logo. Tip: You can enter a hex code in the Color field if you want a truly customized color.
  • Select the Email section. Personalize the message your customers see when they receive their invoice.

When you're done customizing, select Hide or Settings to close the customization window. Then finish your invoice.


Switch from back to the old invoice template
If you decide you need more customization options or need features like deposits and discounts, the simplified template may not be for you.
To go back to the old invoice format, open an invoice, and select Classic View. Important: This switch is permanent. Once you switch back to Classic View, you can't use the simplified format anymore.
Customizing your sales forms helps you put your best foot forward whenever you communicate with your customers. Let's go over how to update your sales forms so that they match your company's branding and how to choose what your customers do and don't see on the forms you send We have over 100 ...
jrodrigues
Level 2

Invoice Email Template

Does that reply answer the question.  I have the same exact issue, I want the Project name to auto populate the invoice, but I don't know what to type in the [ ].  I have tried [Project], [Project Name], [Customer], [Customer Name], [Client], and  [Client Name].  All of which have returned the exact wording and not the information related to that invoice.

Pabz_L
QuickBooks Team

Invoice Email Template

Hello there, @jrodrigues.


I appreciate you for performing some steps to make the Project name show on the invoice template.


Please know that the functionality you wanted is not available in QuickBooks Online at this time. The workaround that you can do is to add another custom field and manually type in the project name. 


To enable this feature, here’s how.


  1. Go to the Settings icon.
  2. Select Account and Settings.
  3. Click the Sales tab.
  4. Select the pencil logo of the Sales form content. Then, put a checkmark on every field that you wanted to use.
  5. Then, click Save and Done.


I’m adding here a link where you can leave feedback and send ideas to our developers about the functionality that you mentioned. I will also forward this request to our product engineers so that it’ll be considered as future updates. QuickBooks Online Features Requests.


If you have any other questions, please let me know. I am here to help. Keep safe.

jrodrigues
Level 2

Invoice Email Template

Thank you for this information.  However, we are not trying to get the project name to show up in the invoice.  We are trying to get it to show up in the email message that gets sent with the invoice.  If I create a custom field called "Project", how do I get the custom field to show up in the invoice email template.  I was thinking something like [CustomField1] or [Custom_Field_1].  Is there functionality for this?

jrodrigues
Level 2

Invoice Email Template

I'm sorry.  I should've specified this.  If I create a custom field called "Project", how do I get the custom field to show up in the invoice email template.  I was thinking something like [CustomField1] or [Custom_Field_1].  Is there functionality for this?

Nick_M
QuickBooks Team

Invoice Email Template

Hey there, jrodriques. 


Thanks for posting in the Community, I understand what you're asking, you're trying to get the project name to show in the email that is sent with the invoice. I'm happy to show you how to do that. In the Custom Form Styles window, go to the Emails tab. You can change the subject line, greeting, and message body. To find all the ways you can customize invoices and email messages, I recommend checking out the following article it has everything you need to customize invoices, emails, estimates and much more however you want. 

If you have any further questions, please, respond below. Thank you for your time and have a nice Monday afternoon.

jrodrigues
Level 2

Invoice Email Template

Thank you.  This does give a lot of information on how to customize your invoice.  You stated that you can show me exactly how to get the project name to show up on the email.  However, you just sent me a link that doesn't give that information about getting the project name to auto populate the email in the same way that the invoice number or the customer's first name does.  Do you have a list of field names that can be used in creating the invoice template?

Rasa-LilaM
QuickBooks Team

Invoice Email Template

Welcome back to the Community, jrodrigues.


Thank you for taking the time to look into the article shared by my colleague. It can help and guide you on how to tailor the look on your sales templates.


Let’s go to the Custom form style page and edit the body of the email to show the project name. Please know you can manually change the information displayed on the email. Allow me to show the step by step process to accomplish this task.


  1. Tap the Gear icon at the top to select Custom form style under Your Company.
  2. On the All lists page, choose the invoice you’re working on and hit the Edit link under the Action column.
    invoice cust.png
  3. Click on the Emails tab and go to the Message to customer section.
  4. In the field box, enter the project name and other information you want to add on the body of the email.
  5. Click Done to keep the changes.
    invoice cust1.pnginvoice cust1.png

When creating an invoice, make sure to use the template you’ve customized. This way, you can see the project name added to the email. To do that, click on the Customize button on the Invoice page and then choose the correct template.

invoice cust2.png

invoice cust3.png

For your other concern, you can go to the Custom form styles page and choose any invoices from the list. Here's how:


  1. Go to the Gear icon at the top to select Custom form style under Your Company.
  2. Then, click the Edit button to view more details.
  3. From there, hover your mouse to the Content and Emails tab to view the fields used on the invoice.
    invoice cust4.png

Check out the How to Customize Invoices in QuickBooks Online article for additional resources. It contains screenshots and complete information on how to change the layout, design, and data fields that show on the invoices.


If you need further assistance with the customization process, post a comment below. I’ll get back to help and make sure this is taken care of for you. Have a great rest of the day.  

Beth-Phog
Level 1

Invoice Email Template

Need help with email template. The preview looks correct, but when I email the invoice, the view is different and has the wrong logo. Can't find where its grabbing the old logo. Please help :( 

LieraMarie_A
QuickBooks Team

Invoice Email Template

Hi there, @Beth-Phog.


I understand that well-designed sales form templates help with your business branding. I'm here to ensure it's presented properly.


You may consider recreating a new invoice style and then making it default. This helps us determine if there's an issue with the old ones.


Here's how:


  1. Go to the Gear icon and choose Custom form styles.
  2. Click on the New style button and select Invoice.
  3. Select Done once all the necessary customization is made. Also, make sure to add the logo.
  4. On the Custom form styles page, find the new invoice style. 
  5. Click the dropdown arrow under the Action column and select Make default.


After that, try sending a test invoice to your email. If the view is still different and has the wrong logo, I suggest contacting our Customer Care Support team. This way, they can take note of your case and raise a ticket for further investigation if needed.


I'm only a post away if I can be of additional assistance. I'm always here to keep helping. Wishing you a wonderful rest of the week.

Sign in for expert help
Ask questions, post replies & join our community of QuickBooks users.

Need to get in touch?

Contact us