Solved
Setting up vendor payment terms.
How do I set up my vendor payment term for when the bill is due the 25th of the following month? It keeps saying that it is due the 25th of this month when I choose that 25th option.
How do I set up my vendor payment term for when the bill is due the 25th of the following month? It keeps saying that it is due the 25th of this month when I choose that 25th option.
To set up vendor payment terms in QuickBooks Online, so the bill is due on the 25th of the following month, you'll need to create a custom payment term. I'll be assisting you to achieve that, Sunny. Here’s a step-by-step guide on how to do it:
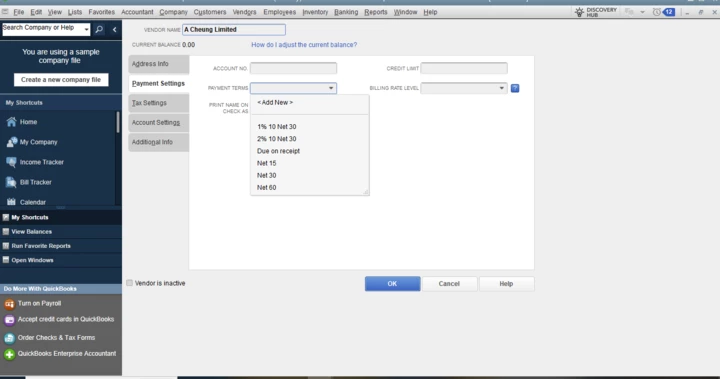
For setting up the payment term, follow the steps below:
After completing the steps above, proceed to name the term "Due 25th of Next Month" and save.
Moreover, when assigning the custom term to vendors, the following steps will guide you:
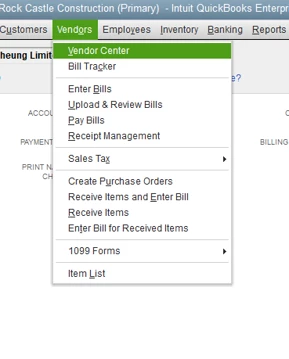
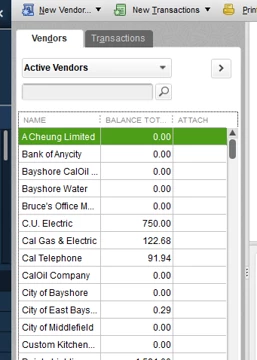
In applying the custom term, follow the guide below:
If you continue to experience issues, double-check that the custom term is correctly applied to your vendors and try creating a sample bill to ensure it reflects the correct due date.
For further reference in setting up payment terms, check out this article: Payment Terms.
If you're looking to take your business to the next level, QuickBooks Enterprise is the solution you've been searching for! As a leading financial management software, QuickBooks Enterprise offers a comprehensive suite of features specifically designed to meet the needs of growing businesses, large or small.
Additionally, you may explore these two articles, which provide information about the customer transaction workflow and receiving payments in your QBDT account:
By following the steps outlined above, you will be able to establish specific terms for a vendor. If you require any additional help, please feel free to reach out. I am always available to assist you. Have a wonderful day!
Enter your E-mail address. We'll send you an e-mail with instructions to reset your password.