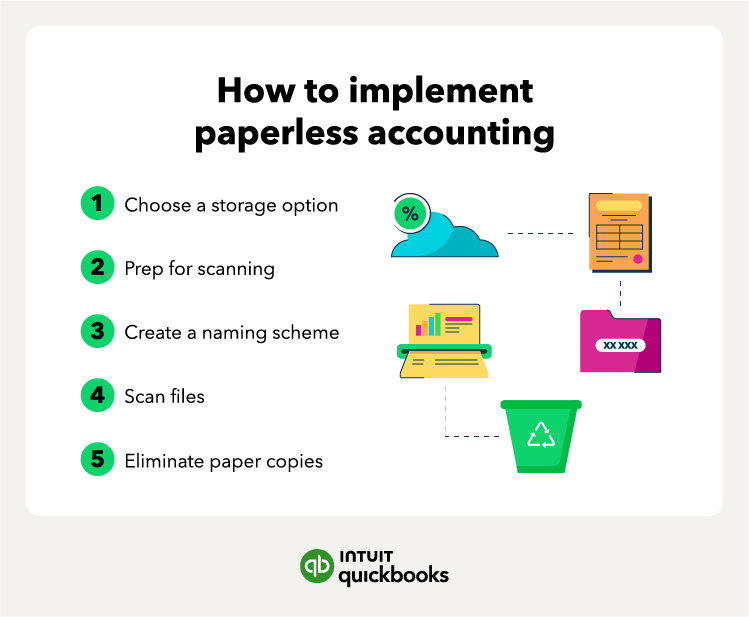
1. Choose your storage option
First, the office manager or business owner should select a storage option. This will be the system that replaces your filing cabinets. There are a couple of options for a digital filing system:
- Document management system: This is like a digital filing cabinet that lets you store and manage your documents. While it can be a popular option, it’s worth noting that not all document management systems are accessible from a remote location.
- Cloud-based storage system: Cloud accounting software works similarly to a document management system, except with more access options.
2. Prep for scanning
Once you have your storage system online, you can prepare for the digitization of your current paper system. This will require some legwork for preparation, including:
- Organizing paper files: Paper files should be organized in the exact order that you want them to show up in the system. Otherwise, you risk having to reorganize once they’re entered, which is much more time-consuming.
- Stripping paper clips and staples: Scanners can be sensitive machinery, easily broken or thrown off by the occasional staple or paper clip. You’ll want to strip these off during the organization phase.
3. Create a naming scheme
A naming scheme is an organized way of naming files that everyone follows for easy recall when a certain document is needed. Without a proper naming scheme, you’re looking at a potential group of thousands of unnamed files that have to be individually sifted through and named.
It’s much easier to accomplish naming files at the time of scanning. Naming can even be tailored to your business—just as long as the system is consistent and sustainable over a long period of time. For example, a popular naming scheme might be a client name, document title, and year.
[Jackson, Avery/W2/2023]
Other common naming schemes include:
- Contract number/Company name/Date
- 123X/AcmeCo/10.20.23
- Date/Last name/Project name
- 2023/Jackson/TaxReturn
Consistent naming also helps you meet audit and retention requirements.
4. Scan your documents
Scanning can be finicky, so check your work and pay attention. Do not rely on the “set it and forget it” mentality. For instance, by not double-checking your work or paying attention to what you’re scanning, you could potentially lose important information that can’t be recovered after the paper copy disposal.
- Pay attention: Only scan small stacks at a time, as larger stacks are more prone to sliding around, folding in on one another, or jamming the scanner.
- Double-check your work: After each stack is scanned, skim through the file pictures that will pop up on your screen showing how it was scanned in. Check for blurry images, missed papers (they can stick to each other), or dark images that can’t be read.
5. Eliminate paper copies
Before taking this final step, double-check that all documents have made it into the system, maybe even waiting a week or so until the digital system is up and running.
Finally, once you have your documents named, prepped, and assuredly scanned into the system, it’s time to eliminate the paper copies. You can do this in one of two ways:
- DIY paper shredding: Any paper copies that are old and no longer needed can be shredded and recycled if sensitive information has been blacked out.
- Document shredding services: To save the headache of safe disposal, you can use the services of a document shredding company that will safely eliminate sensitive documents off-site.
Take special care to properly dispose of documents that contain sensitive information like Social Security numbers and routing numbers.


