7 tips on using Excel for inventory management
1. Avoid pitfalls and mistakes with Excel inventory
Many professionals avoid using Excel for inventory management for the simple reason that humans are error-prone. Finding errors on sheets of numbers and hard data is also difficult unless you know exactly what you're looking for. The only way to avoid this is to create a best practice of self-auditing and daily review to minimize errors.
2. Update immediately
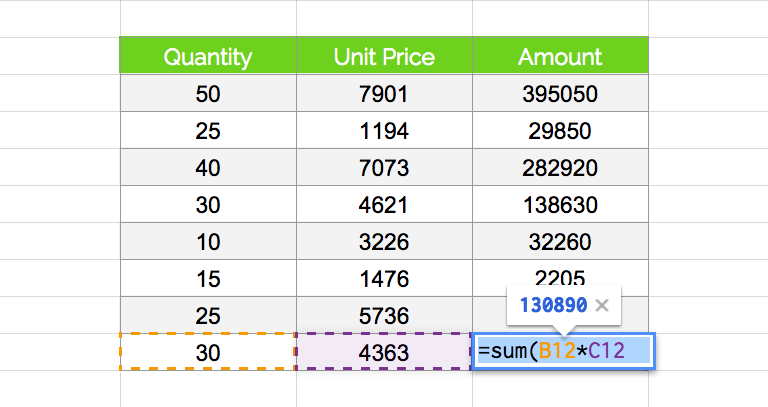
Excel is not a real-time inventory management solution, so you will never be able to see the real inventory value at that moment. However, you’ll want to make sure that anyone handling orders updates the document as often as possible to circumvent issues like overselling a product that you cannot backorder.
3. Use the cloud
Traditional offline Excel documents are severely limited because only one person can use the sheet at once. Using Excel in the Cloud (OneDrive), or Google's alternative, ensures that you can invite multiple people to the sheet and edit it at once to improve self-auditing, input data from multiple sources, and speed up processes.
There’s also the added benefit of automatic backups and syncing across all of your devices so that you can edit on an iPad or on your computer at home.
4. Take the time to consolidate data
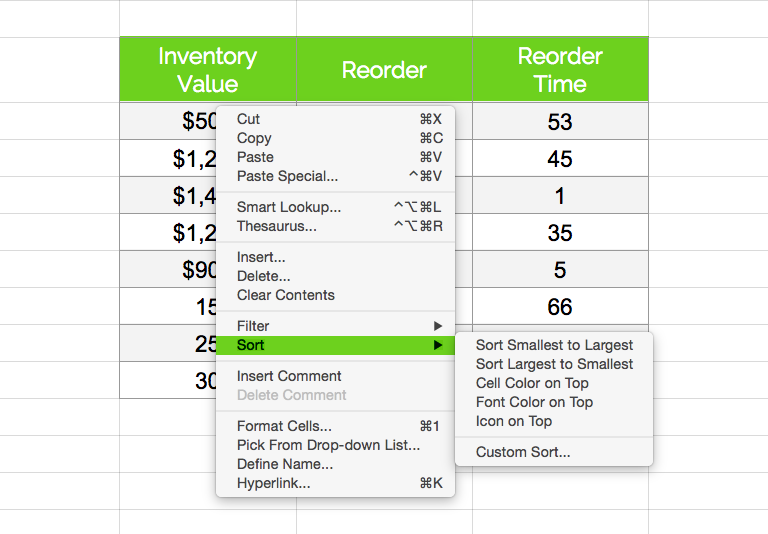
One of the biggest issues many people have with Excel is not being able to easily analyze your historical data—but taking the time to add your entire month's data into an easy-to-read pivot table will fix this.
It is time-consuming, but it allows you to track your sales by period and during different seasons for better inventory optimization in the future.
Here’s how to create a pivot table in Excel:
- Select your data: Click anywhere within the data range you want to analyze with the pivot table (e.g., your inventory data). It's best to include the header row with your column names.
- Insert the PivotTable: Go to the "Insert" tab on the Excel ribbon, and in the "Tables" group, click "PivotTable". A "Create PivotTable" dialog box will appear.
- Confirm the data range: The dialog box should automatically detect your selected data range. Double-check that it's correct.
- Choose where to place the PivotTable: Select whether you want the pivot table to be placed in a "New Worksheet" or an "Existing Worksheet". If you choose "Existing Worksheet," you'll need to specify the cell where you want the top-left corner of the pivot table to start.
- Click "OK": Once you've made your selections, click "OK". A blank pivot table and the "PivotTable Fields" pane will appear.
- Customize your PivotTable: This is where you arrange the fields from your data (the column headers) into the different areas of the pivot table.
- Drag fields to "Rows": Fields placed here will create the row labels in your pivot table.
- Drag fields to "Columns": Fields placed here will create the column labels.
- Drag fields to "Values": Fields placed here will be summarized (e.g., summed, counted, averaged). This is where you'll typically put numerical data.
- Drag fields to "Filters": Fields placed here will allow you to filter the data displayed in the pivot table.
With a little practice, you'll be able to create pivot tables to quickly analyze your inventory data and gain valuable insights into your business. Remember to explore the various options and features within the PivotTable tools to unlock the full potential of this powerful Excel feature.
5. Review your data
Excel can be a valuable tool for tracking inventory, but it is up to you to make sure that you are tracking and calculating everything necessary. For example:
- If you're tracking time to reorder, have you included lead times (time from manufacturer to warehouse or 3PL) in your calculations?
- Are you calculating profits based on sales or based on your actual per-item profit?
- Are you using your inventory to calculate sales tax immediately?
- Is your total inventory value based on resale or purchase value?
Going over the figures you use in your calculations to ensure that they are correct can save you expensive and time-consuming mistakes in the future.
6. Audit and review
Excel relies on people to input data unless you have a barcode scanner connected to your system, and even then, not everything is automated. This will lead to human error like over- or underestimating profits or reordering the wrong amount, which can throw off your entire supply and demand.
A policy of keeping track of everything on paper as well as in your Excel document allows you to go over your inventory at the end of each day to correct any mistakes.
7. Know when to upgrade
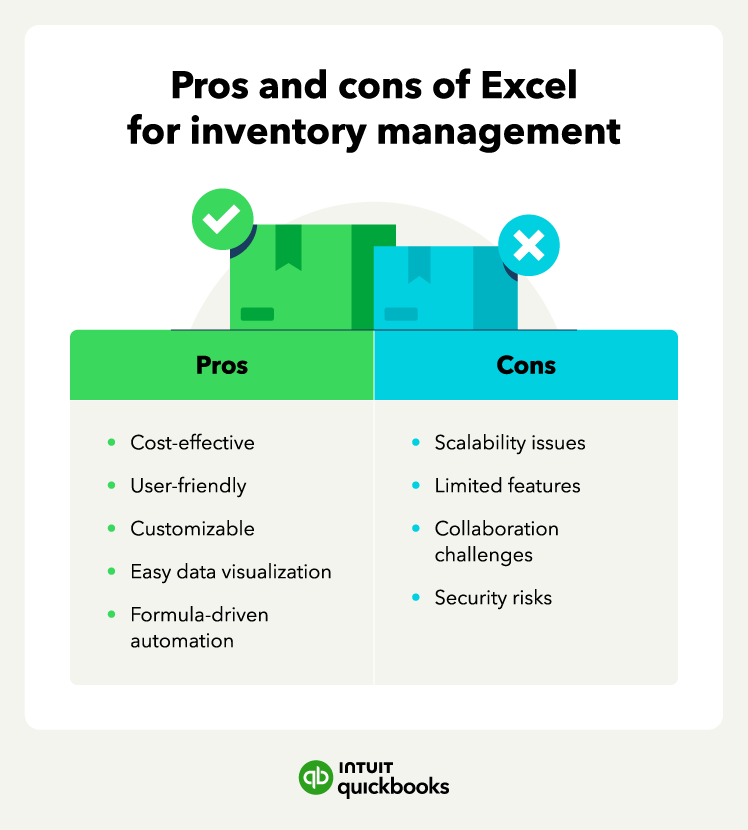
Excel is a great tool for basic inventory management, but it may not be the best long-term solution for all businesses. As your business grows and your inventory becomes more complex, Excel can become cumbersome and time-consuming.
Consider upgrading to a dedicated inventory management system if:
- You have a large number of SKUs (100+).
- You need advanced features like real-time inventory tracking, barcode scanning, and multi-user access with permissions.
- You want to integrate your inventory management with other business systems, such as accounting or e-commerce platforms.
- You need more advanced reporting and analytics capabilities.
Ultimately, the decision of whether to upgrade to dedicated accounting software with inventory management features depends on your specific needs and budget.