3. Decide which types of barcodes you want to use
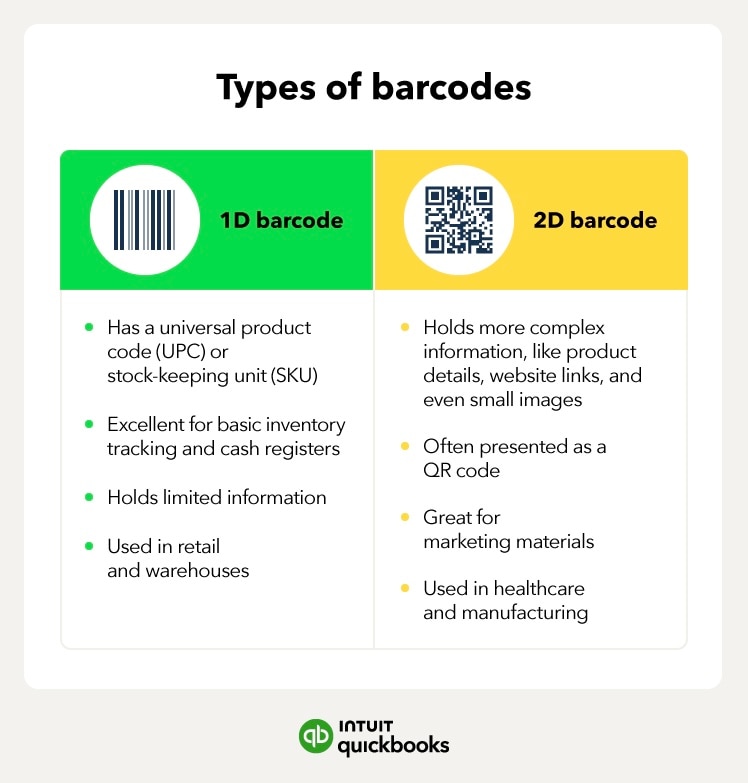
Choosing between 1D and 2D barcodes shouldn’t be too difficult of a task. Both types have distinct uses, depending on what you need barcodes for. If all you require is simple product information, then 1D barcodes might do the trick. If you’re tracking customer engagement or need to show more complex data, use 2D barcodes.
4. Create your barcodes
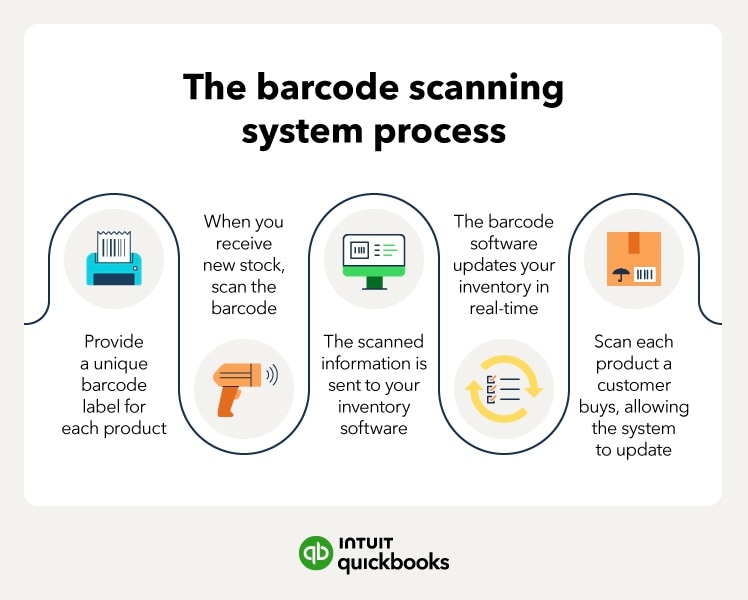
Use online tools or barcode generation software to create barcodes for each of your products. Remember, each barcode should have a unique, easy-to-remember identifier and contain all the necessary information for accurate tracking.
5. Apply barcodes to your inventory
With your barcodes created, it’s time to label your products. Print barcode labels using a unique barcode printer or create sheets of labels with a regular printer. Whatever you use, make sure your barcodes are clear, scannable, and securely attached to your products.
6. Train your team
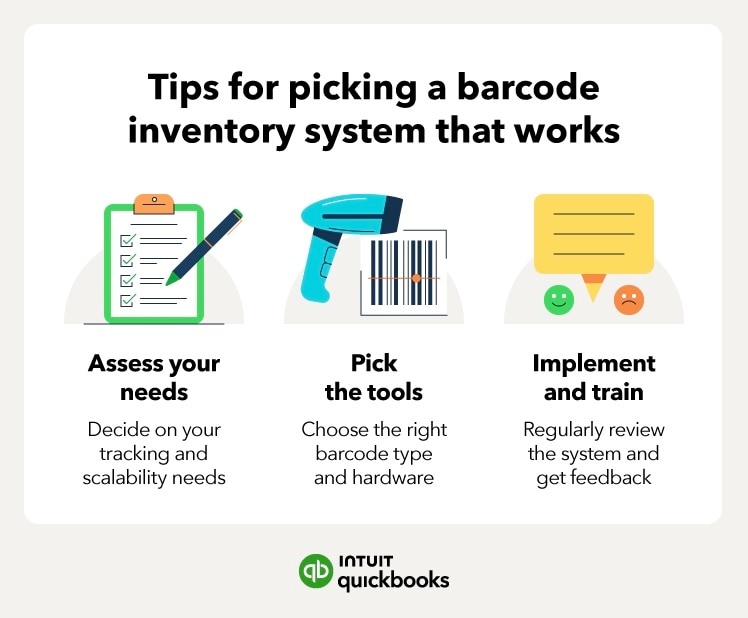
Now that everything is ready to go, teach your team how to use your barcode system for inventory. Most inventory management strategies are pretty easy, but your team will need to know what to do when things don’t scan properly or not at all. You also need to stress the importance of consistent scanning; otherwise, your physical inventory may not align with your recorded inventory.
7. Test your system
Your barcode system for inventory isn’t something you can set and forget. Regular testing is required to ensure everything is accurate and working correctly. Consider spot-checking inventory counts now and then and running test transactions.


 Stock discrepancies are common when taking inventory due to human error, like misplacing items and double counting. Inventory barcode systems reduce these discrepancies by automating data entry, eliminating the need for manual entry.
  Spot-check inventory counts at least once a month and more frequency for high-turnover items and those prone to discrepancies.


