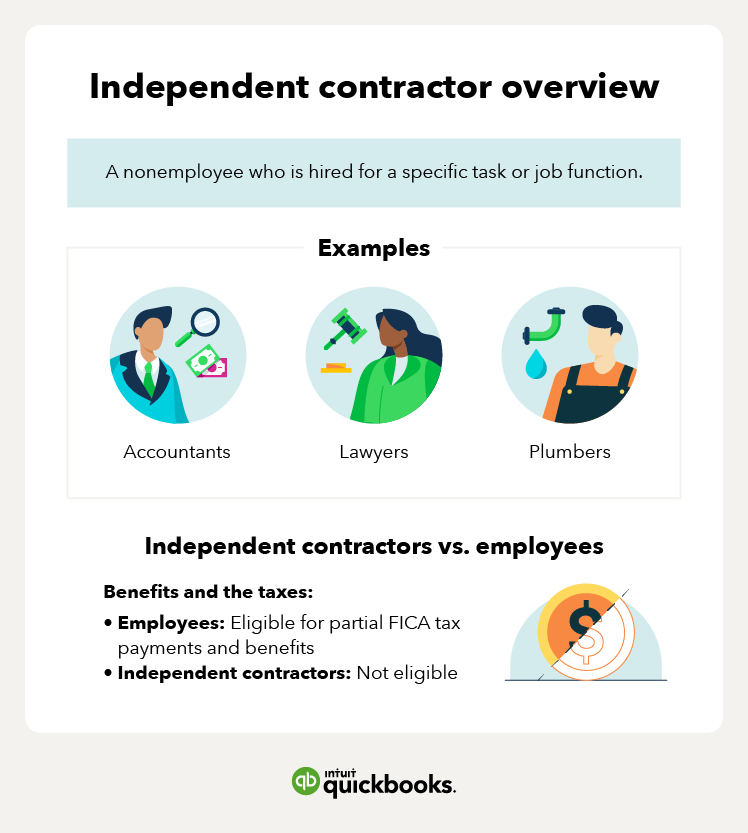
Finding an independent contractor can be relatively simple. Just be aware that the rules surrounding hiring contractors vary by state. Be sure you check employment laws for your state before committing.
A simple Google search should bring up plenty of results in any niche or industry from your surrounding area. The trick is choosing the right contractor for the job.
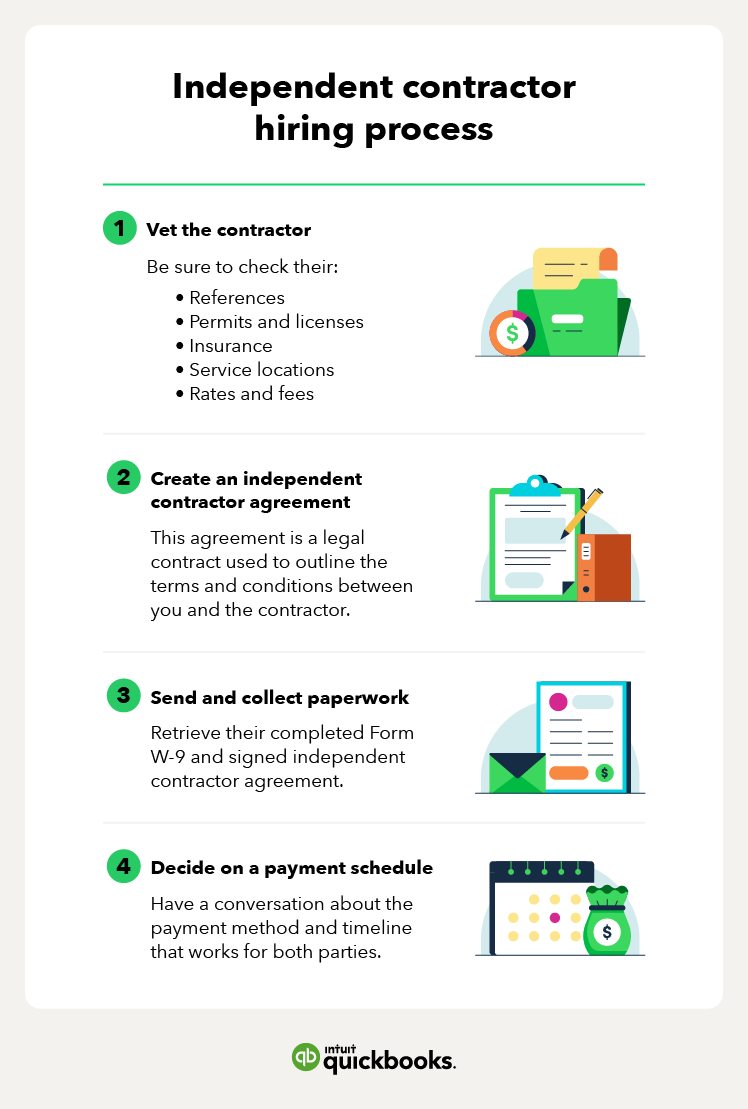
Step 1. Vet the contractor
You wouldn’t hire any random person to watch your children, and you shouldn’t hire just anyone for your business either. It’s a good idea to thoroughly vet your candidates before moving forward. This includes checking:
- References: These are often listed on the Better Business Bureau website.
- Permits and licenses: Ask for the contractor’s business license and check with your state’s licensing board.
- Credentials (like liability insurance): Ask for proof of insurance and verify with their insurance company.
- Service location: Make sure they service your area.
- Rates and fees: Compare rates to other local contractors to ensure you aren’t being overcharged.
Step 2. Create an independent contractor agreement
An independent contractor agreement is a legal contract that discloses the nature of the work being performed, including the timeline and other important details.
Finding a boilerplate independent contractor agreement is simple, but you will likely need to adjust the details for your specific situation.
Here’s some basic information you’ll need to include in your agreement:
- The location where the work is being performed
- Services rendered by the contractor
- Timeline of work, including the start and end date of the contract
- Details of both the contractor and the client's responsibilities
- Details of compensation (amount and payment cadence)
Keep in mind that this is not an exhaustive list and different states may have varying requirements. Each business arrangement may require specific verbiage to ensure both parties are on the same page. It may also be a good idea to contact a legal professional to either draw up a contract for you or review the one you create.
Step 3. Send and collect paperwork
Collecting paperwork is an important step in the process. You’ll need to collect a signed agreement and a Form W-9 from each independent contractor you hire.
A W-9 is an informational document that houses the contractors:
- Name
- Address
- Taxpayer Identification Number(TIN)
This information is what will be used to fill out their 1099-NEC, the record of payment they use to file their tax returns. Most importantly, the TIN is crucial for you as a business owner when it comes to verification.
TIN verification
Once you receive the contractor’s W-9, it’s important to verify the TIN through the IRS website. If you wait too long (like January) to report an incorrect TIN, you could be penalized by having to pay all backup withholding on the contractor's behalf.
Backup withholding is currently a 24% tax rate.
Instead, check their W-9 before work starts and request a corrected TIN if you received the wrong one or didn’t receive one at all.
QuickBooks Contractor Payments can help simplify the process of collecting W-9s from your independent contractors. Using our secure online portal, contractors can complete their own W-9s, saving you time and helping ensure the information you collect from your team is accurate.
Step 4. Decide on a payment schedule
Have a conversation about pay rates and terms before putting them into a written contract to make sure it works for both parties, and that there are no surprises or misunderstandings.
This is especially important if you plan to pay over time instead of making a single upfront payment. The payment structure you and your contractor agree upon will largely depend on the type of work that needs to be done and the expected project duration.
Some popular contractor payment schedules include:
- Deposit and final payment: Pay a free upfront, usually a percentage of the project’s total cost, and then pay the remaining balance once the contractor completes the project. This may be the best option if you hire a contractor for a relatively brief one-time ob.
- Time-based installments: Break up the total project price into equal installments and pay the contractor on a set schedule. The schedule can be bi-weekly, monthly, or on some other timeline. This is generally the best option for business owners who don’t want to pay a massive amount at once and for contractors who will be working on one project for an extended period of time.
- Milestone payments: Pay your contractor whenever they meet previously agreed upon milestones. This option works well when they need to complete a series of well-defined smaller tasks to complete a larger project.
- Retainer payments: Send your contractor a recurring payment if you anticipate needing their services in the future to secure their services and keep them “on-call.” This option may be preferable when working with consultants or other gig workers that you utilize frequently.


