- Advanced sales analytics and reports
- Advanced inventory management
- Multi warehouse management
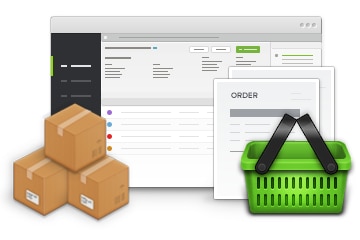
- Full order management
- Customer CRM tools
- Wholesale ordering add-on
- Sales rep mobile ordering app
- + much more
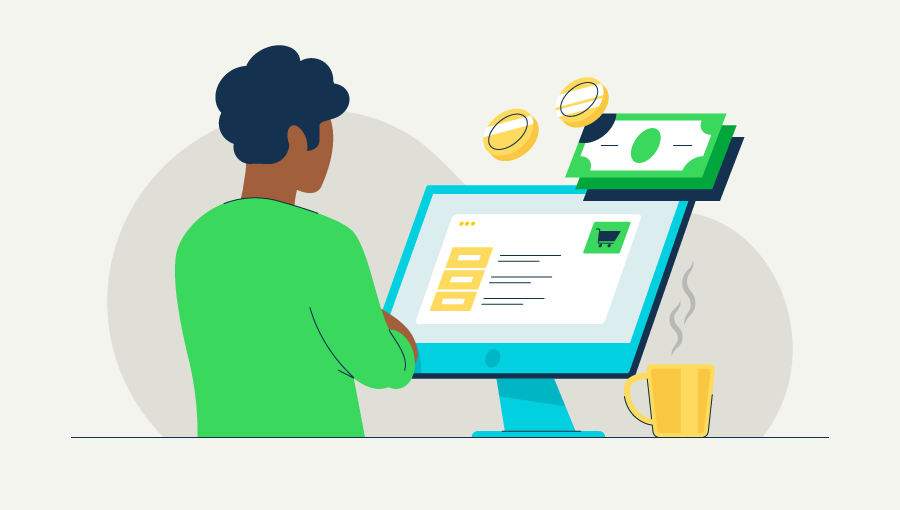
Here’s a step-by-step guide to setting up your Shopify store on TradeGecko
Step 1 - Connecting TradeGecko and Shopify
If you already have a Shopify account you can simply head to http://apps.shopify.com/tradegecko and click the Get App button. You will then be taken through step-by-step to create a new TradeGecko account.
If you do not have a Shopify account we suggest first creating a TradeGecko account here: https://go.tradegecko.com/register.
Once you have your TradeGecko account set up, you’ll be able to connect a new Shopify account by going to the TradeGecko app store: https://go.tradegecko.com/#/account/integrations/shopify
After the connection is complete
After the connection is complete, TradeGecko will automatically pull down your existing products from Shopify. Any changes made to products in one system will be synced to the other.
Orders created in Shopify will now be pushed down to TradeGecko as they happen.
Step 2 - Setting up Shopify auto collections to work with TradeGecko products
Shopify allows you to create auto collections and these will assign products to the correct areas of your Shopify store without you having to manually add them into a collection.
Shopify’s auto collections group together products based on conditions so you can specify that you want collection Mens Jeans, for example, to only pull up items that contain the tags ‘Mens’ and ‘Jeans’. Then any product you create in TradeGecko with the tags ‘Mens’ and ‘Jeans’ will show up in that collection.
More information on setting up auto collections
Step 3 - Publishing TradeGecko products to your Shopify store
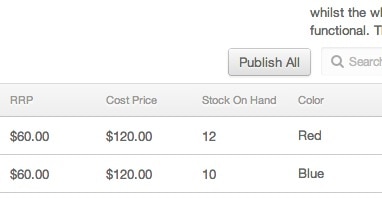
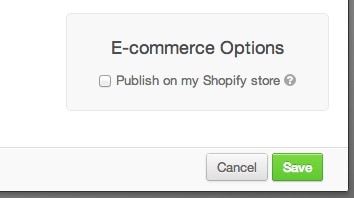
By default TradeGecko does not publish newly created products to Shopify. You can publish products to your store by clicking the ‘Publish All’ button which is located in the product detail screen.