How to create an expense report
Setting up a clear and efficient expense reporting process is crucial for managing your business finances effectively. It ensures accurate record-keeping, simplifies reimbursements, and helps you gain valuable insights into your company's spending.
Here's a step-by-step guide to creating an expense reporting system for your small business:
Step one: Create your spreadsheet
Start by creating a blank canvas for your expense information. Open your spreadsheet program and create a new document. Give your spreadsheet a clear title, like "Expense Report - [Month, Year]."
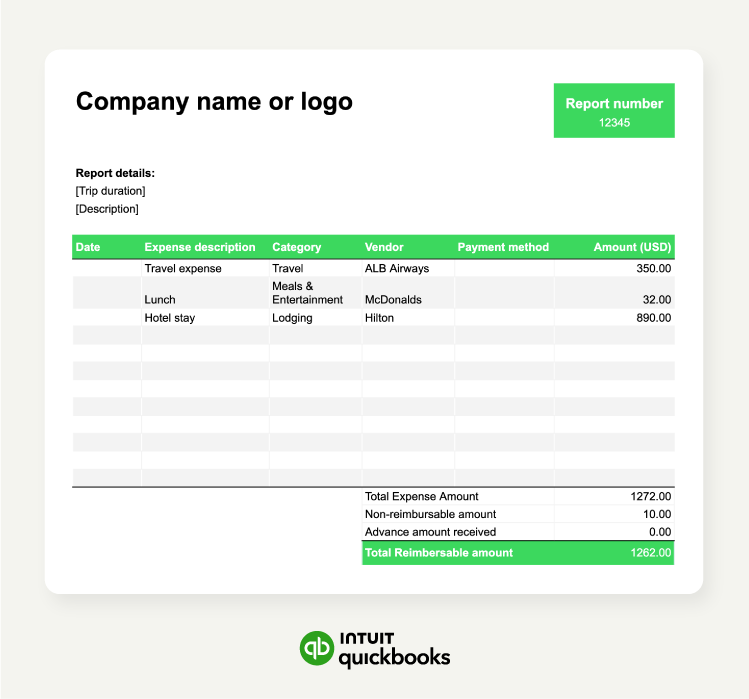
Next, you'll want to add the necessary headers to organize your expense data effectively. In the first row, create headers for the key information you'll be tracking. This typically includes:
- Date
- Description
- Category
- Vendor/seller
- Amount
- Payment method
- Purpose/business reason
Adjust column widths as needed to accommodate the data, and consider adding formatting like bolding the headers for clarity.
Step two: Build out your spreadsheet
With your spreadsheet framework ready, it's time to input the specifics of each expense. For each expense you incur, create a new row in your spreadsheet.
Be sure to record the following information for each expense:
- Date
- Description
- Category
- Vendor/seller
- Amount
- Payment method
- Purpose/business reason
- Proof of payment
To make your life easier, consider using formulas to calculate totals and subtotals. For example, you could use the SUM function to automatically calculate the total expenses for a specific category or time period. This can help you track expenses, manage your budget effectively, and avoid manual calculation errors.
You can also use a separate column to add any relevant notes or comments about specific expenses. This can provide additional context or clarification.
Step three: Organize and categorize your expenses
To make your expense report more insightful, take some time to organize and categorize your expenses. This will help you identify trends, spot potential savings, and prepare for key tax dates.
Use the sorting function to group similar expenses together, like food-related or travel expenses.
Some common expense categories to help you get started:
- Travel: This could include airfare, train tickets, mileage, tolls, parking, and public transportation
- Accommodation: Hotel bills, Airbnb rentals, etc.
- Meals: Restaurant bills, groceries for business trips, coffee with clients
- Entertainment: Client dinners, tickets to events, etc.
- Office supplies: Stationery, printer ink, paper, etc.
- Subscriptions: Software subscriptions, online services, etc.
- Training & education: Conference fees, online courses, workshops
- Marketing & advertising: Social media ads, print advertising, etc.
- Professional services: Fees for lawyers, accountants, consultants
With your expenses organized, you're ready for the final review before submission.
Step four: Finalize and review your expense report
Before submitting your expense report, take some time to review and ensure everything is in order. Accuracy and completeness are key to a smooth reimbursement process.
- Carefully review all entries for accuracy and completeness. Ensure that all necessary information is included and that any calculations are correct.
- If your company requires it, attach digital copies of your receipts to the spreadsheet or maintain a separate folder for physical receipts. Generally, the IRS requires receipts for expenses of $75 or more.
- Save your spreadsheet in a secure location and submit it to the appropriate approver or department according to your company's guidelines.
With your polished and finalized expense report, you're ready for submission and reimbursement. But if you're looking for a more streamlined and visually appealing way to present your expenses, consider using an expense report template.